Come possiamo aiutarti? Come possiamo aiutarti?
Cerca qui la risposta alle tue domande


Scopri come altri team usano monday.com Scopri come altri team usano monday.com

Keep track of communications with congregation

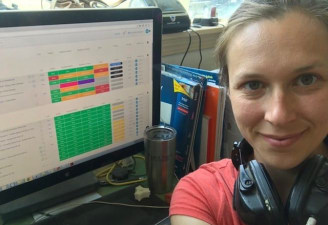
Administrative


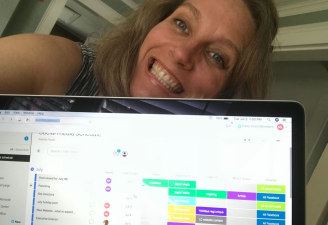


Track where our marketing projects stand

Marketing

eCommerce
photo studio

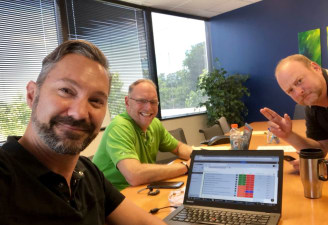
Sales

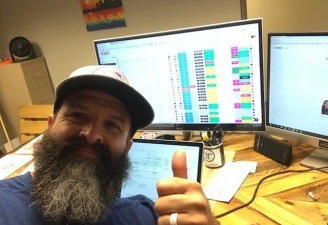
Track manufacturing orders for our clients

Healthcare