


 8 min read
 Feature
Add the integration
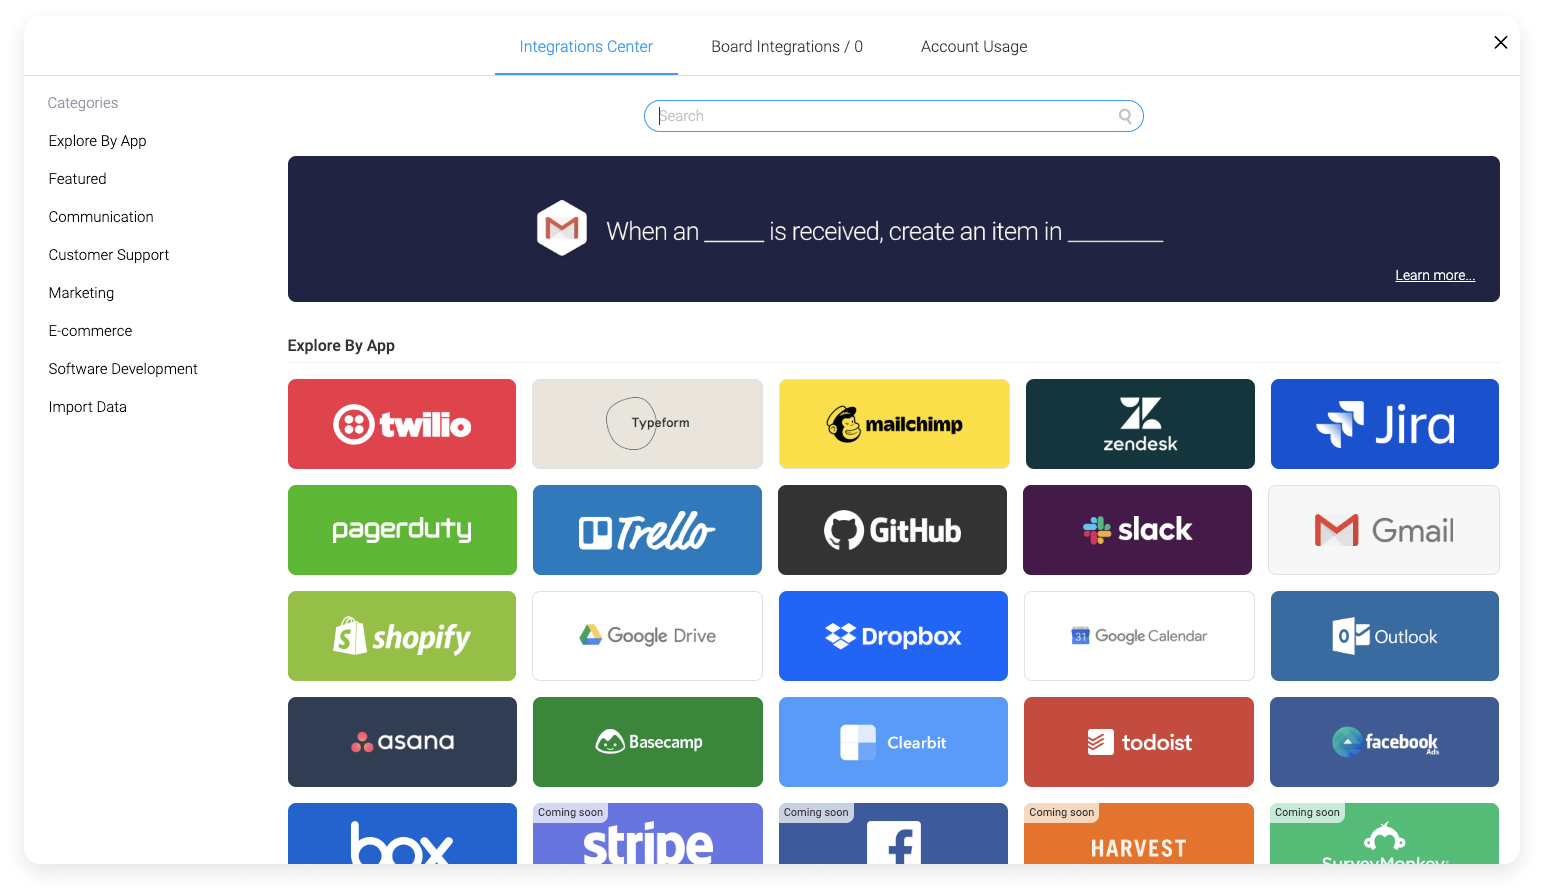
Step 2
From the list, select the recipe you want to add-
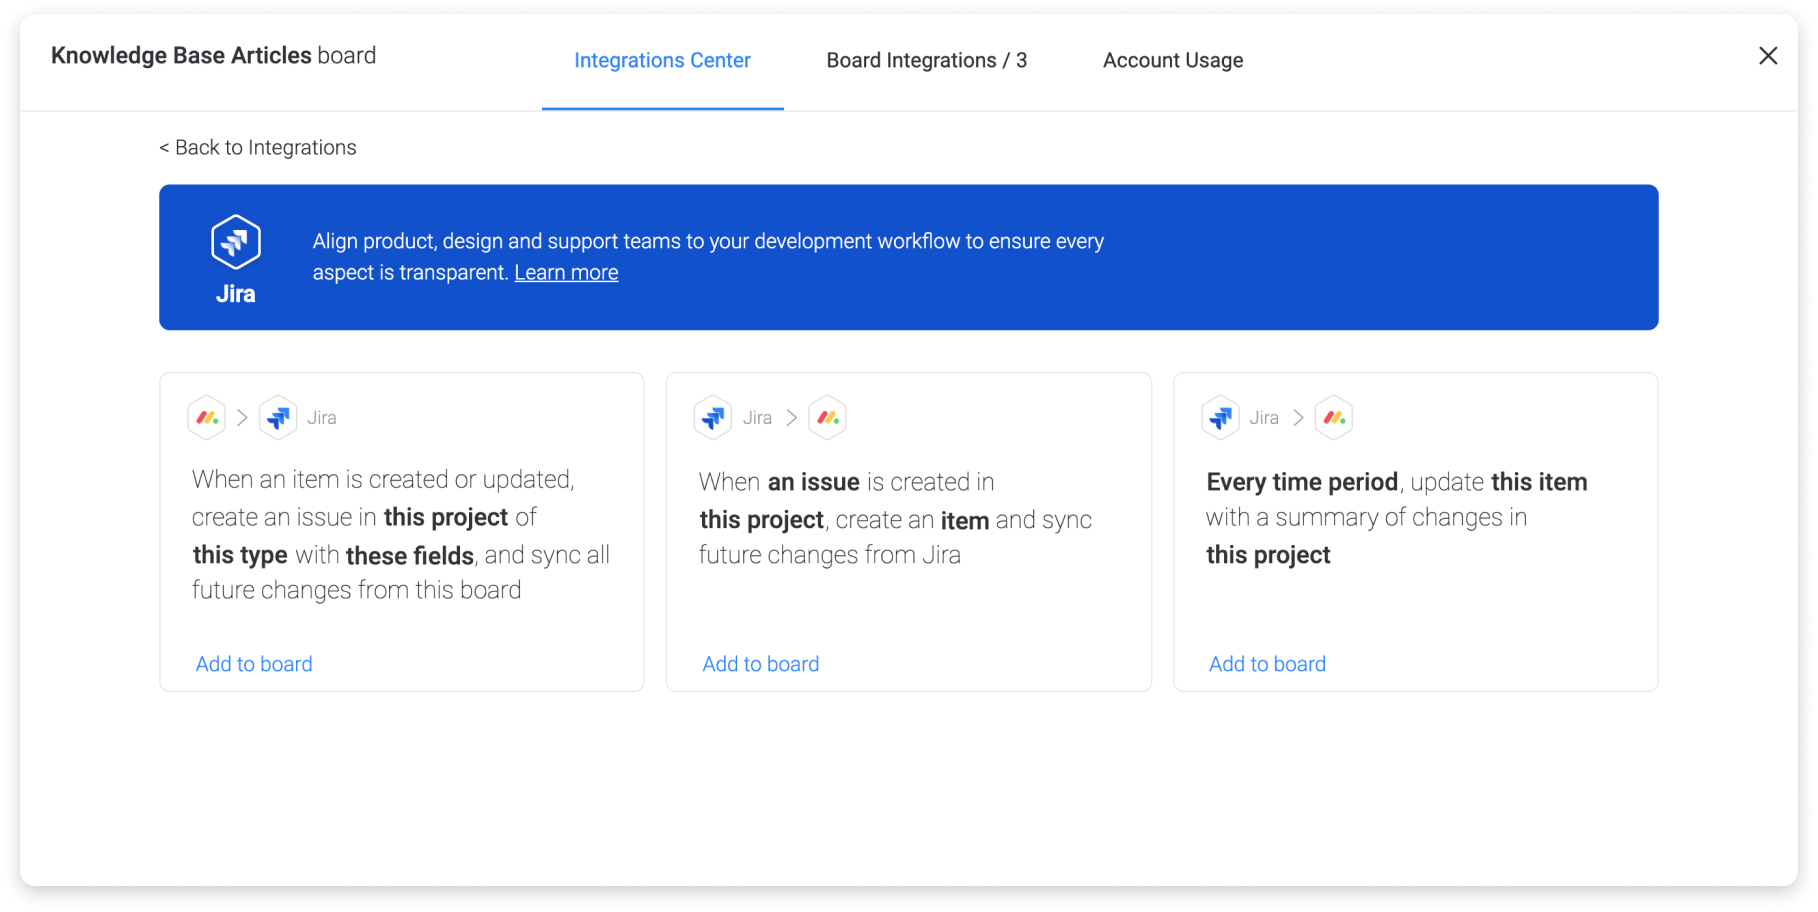
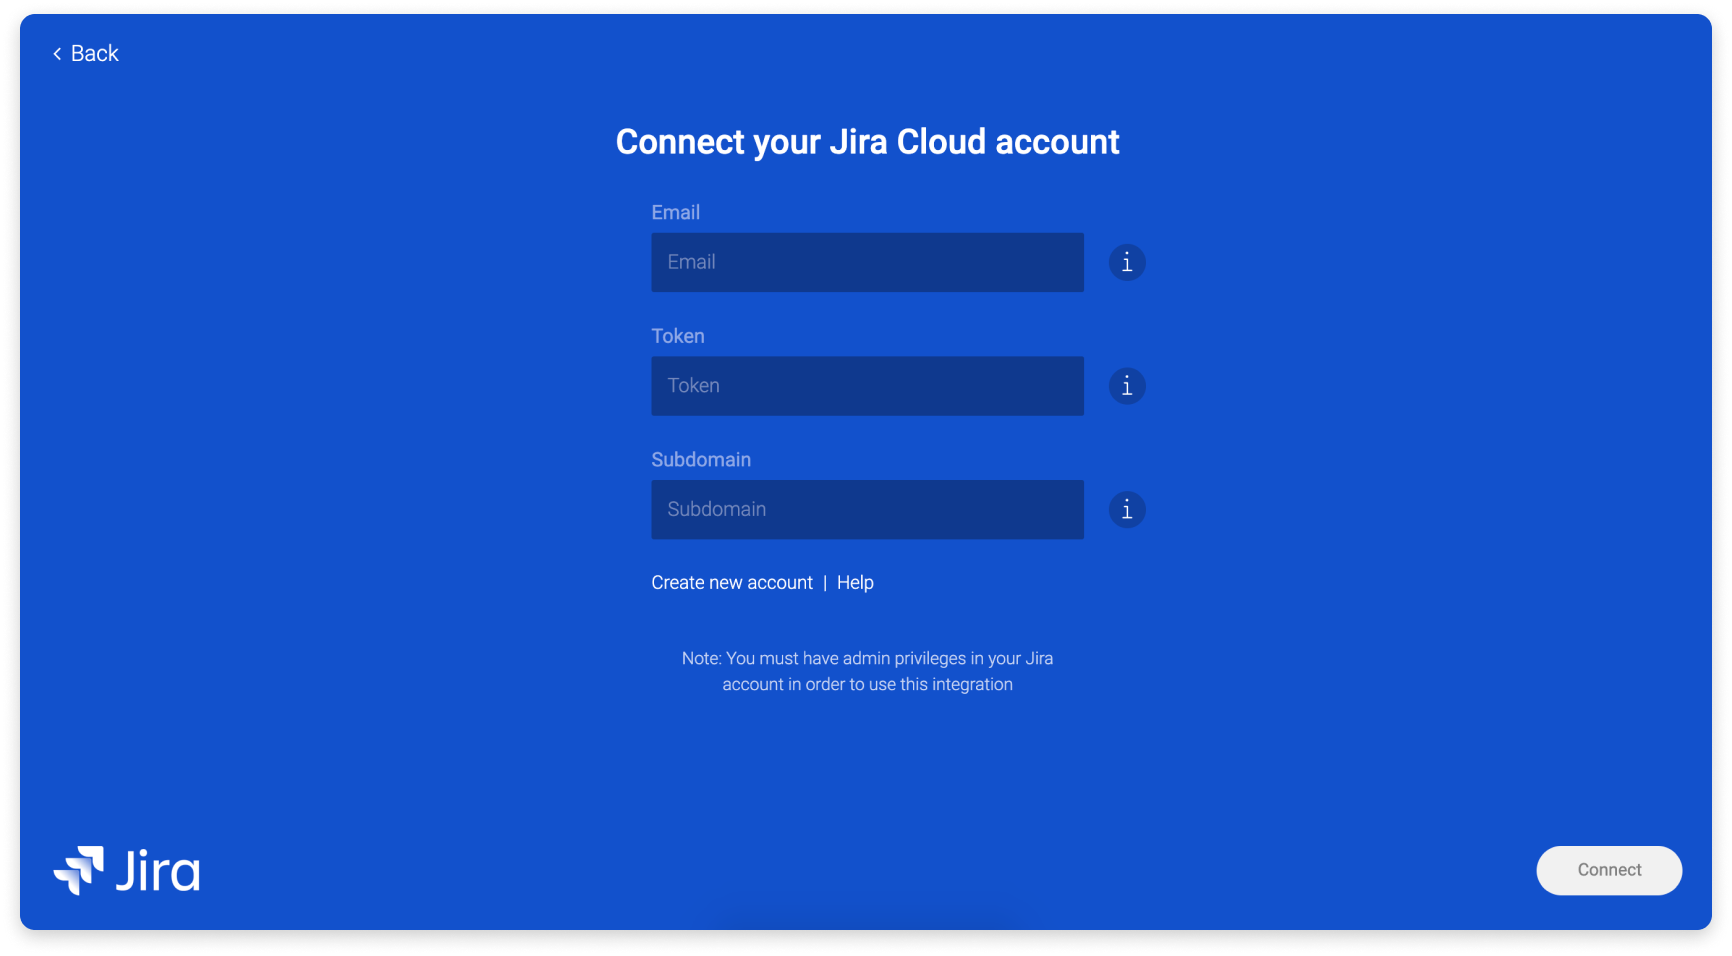
Step 3
Connect your Jira account with the Jira token to monday.com. In the subdomain field, it's important to enter only the subdomain without ".atlassian.net" at the end.
Create a Jira Token
- Step 1
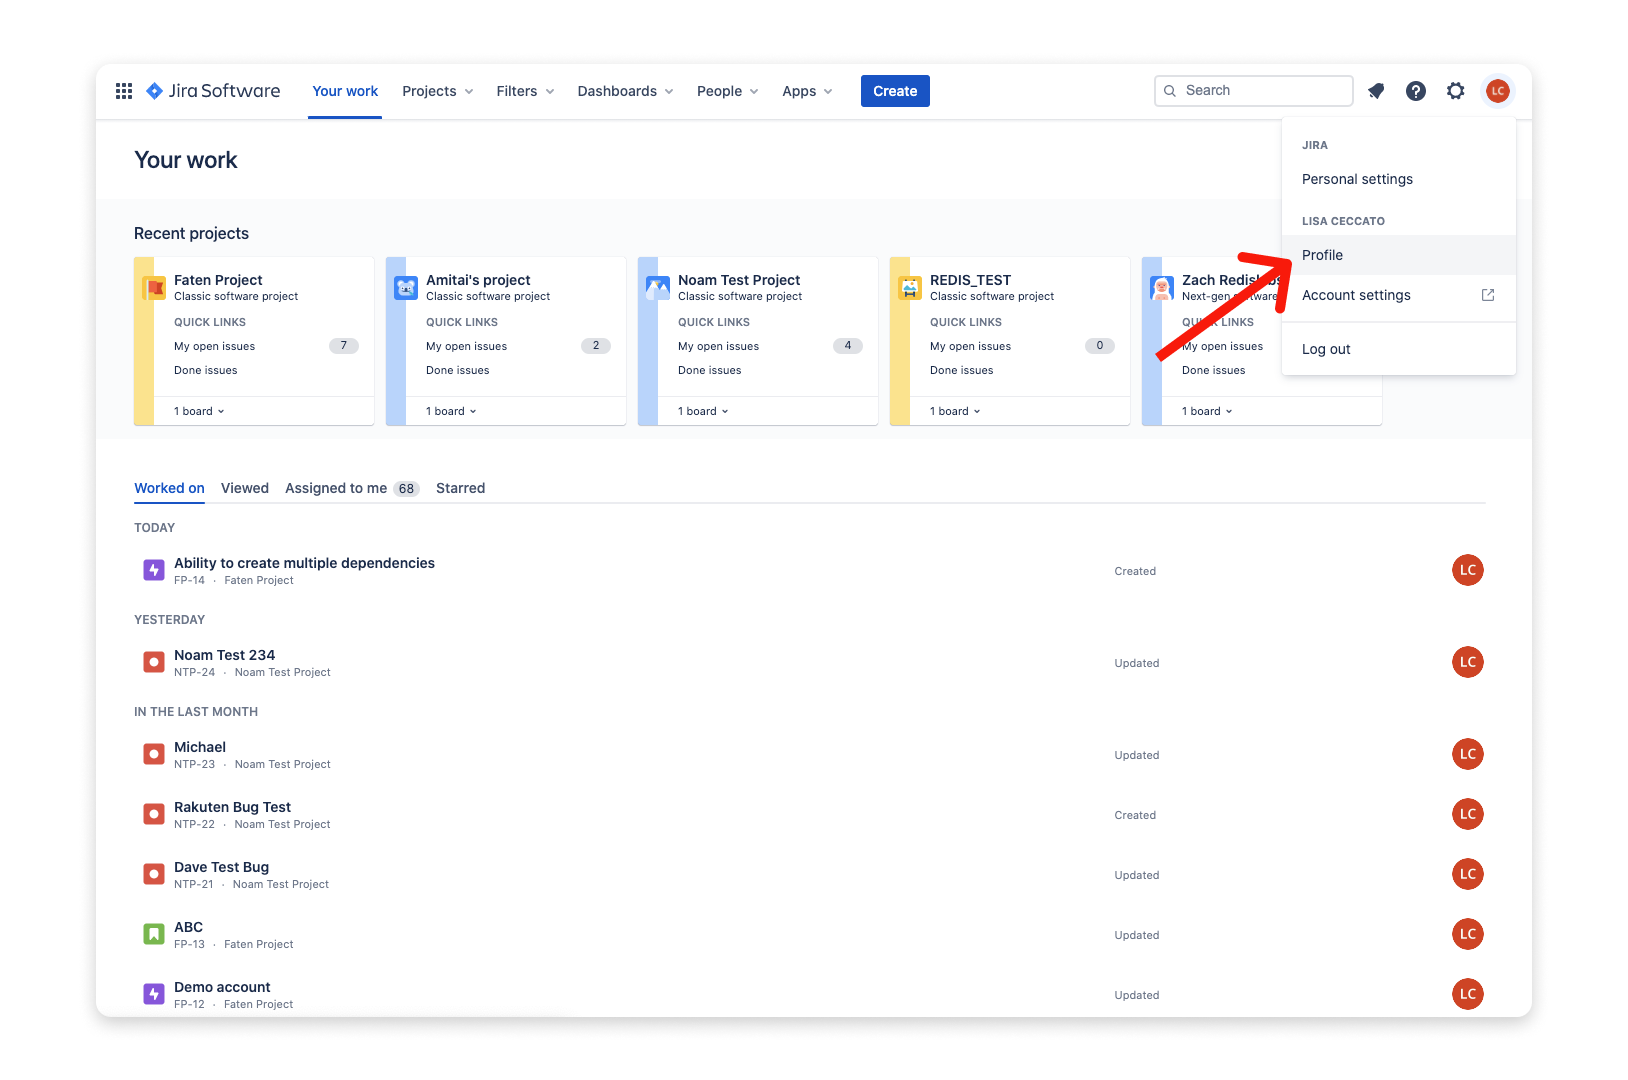
When in Jira, go to your avatar > "Profile":
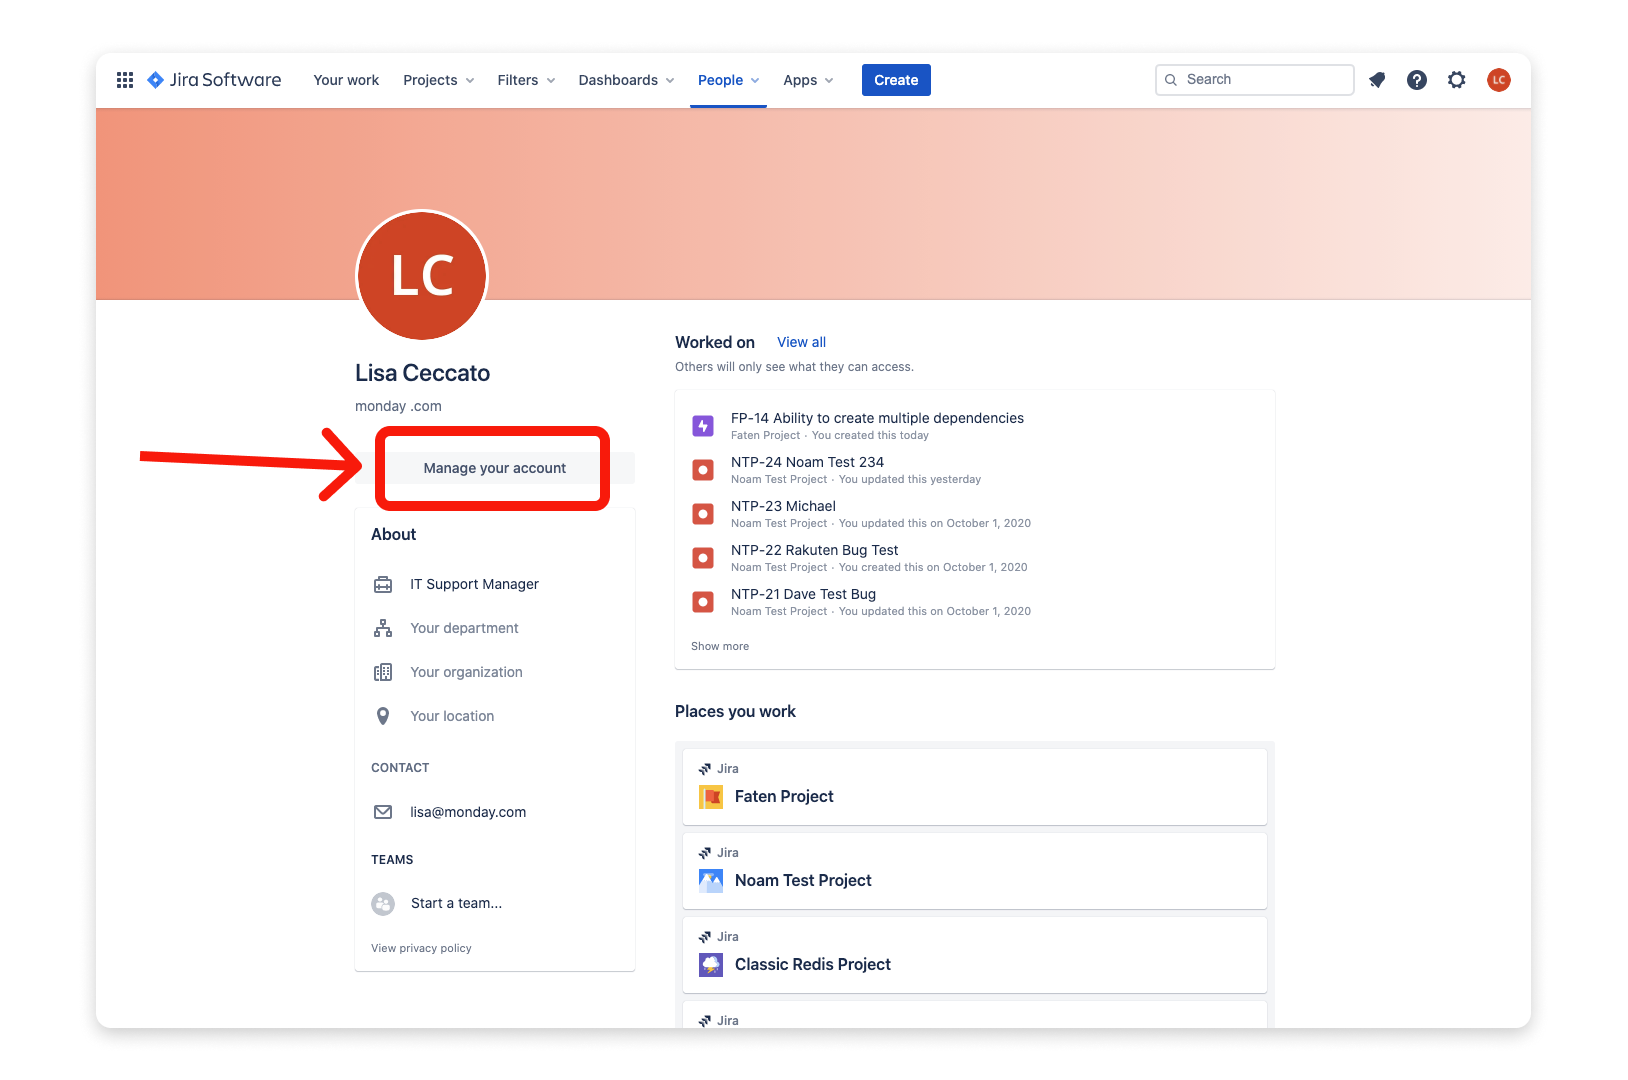
Then, click on "Manage your account":
Next, click on "Security"
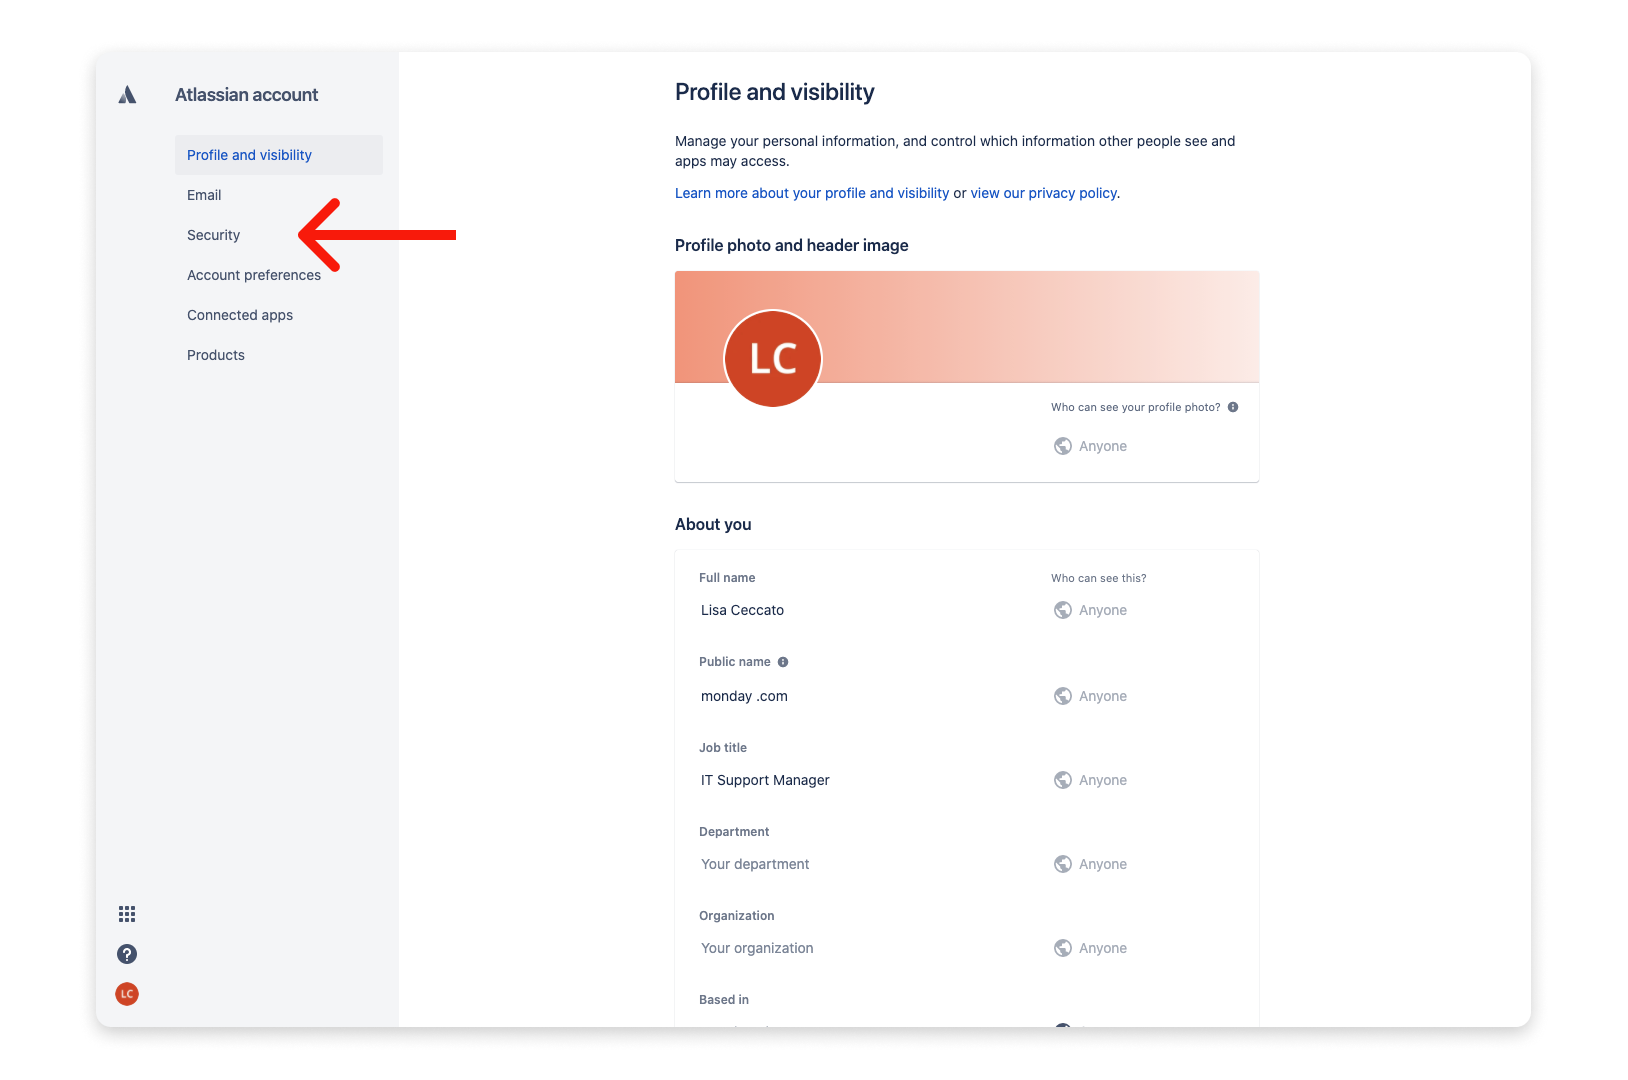
And select "Create and manage API tokens":

- Step 2
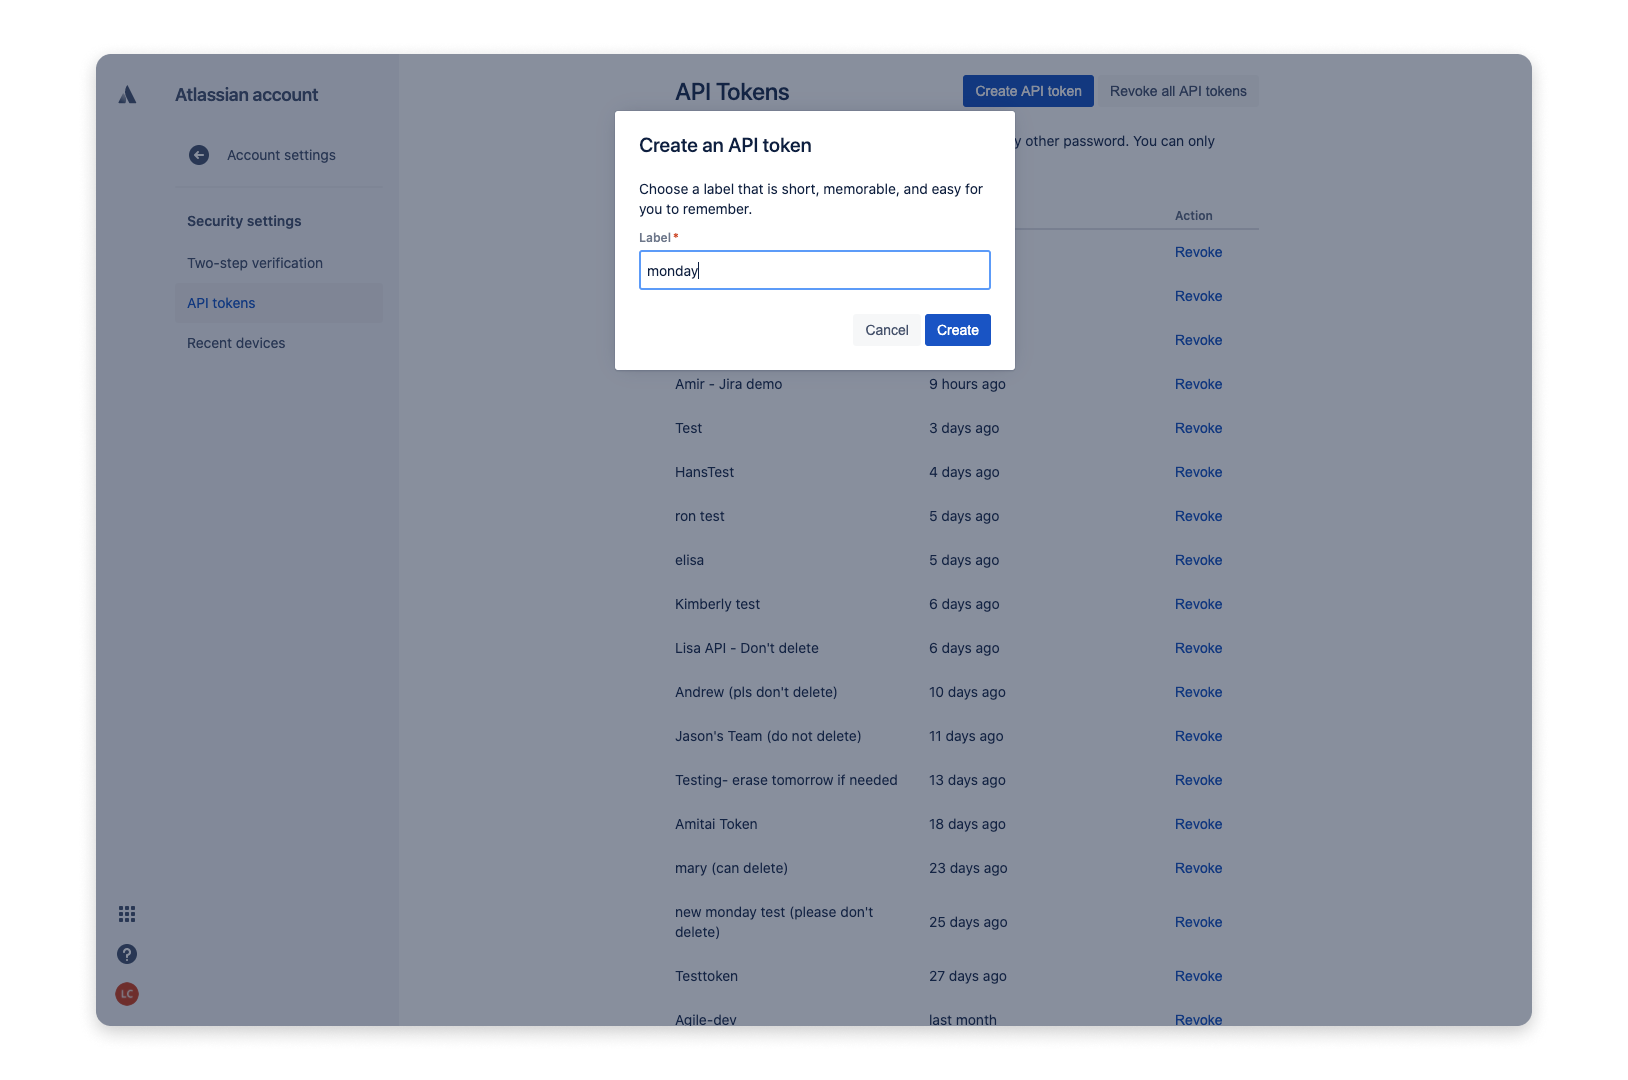
Click on "Create API token":

And enter a label name to create the token:
- Step 3
Copy the token to enter into the automation setup within your monday.com account. It's that easy!
Customize the integration
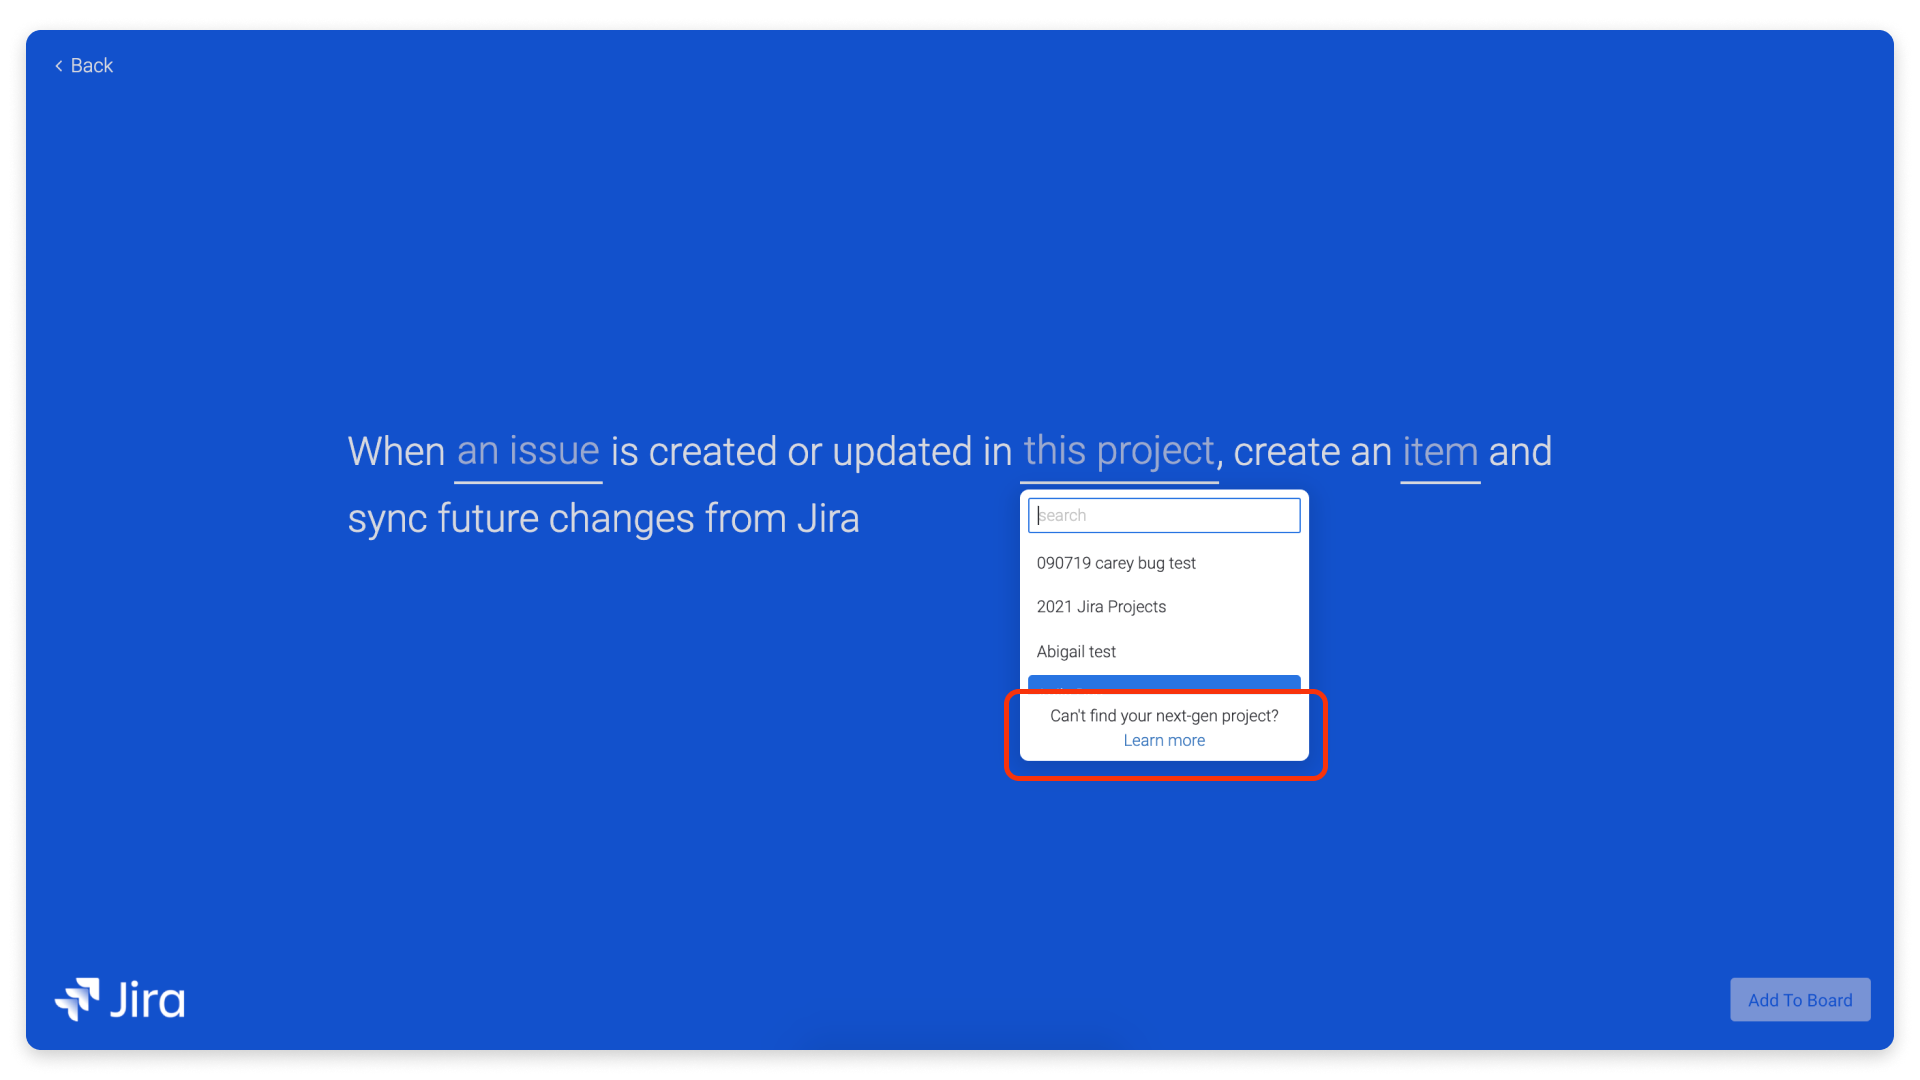
Once the token is added, you can customize your recipe any way you want with the applicable fields. For example, when an issue is created or updated in a project in Jira, you can create an item on your board and sync future changes from Jira-
You can also set a reminder if you want to update your team members with a summary of an issue in your projects in Jira-
Pull in the assignee
Contact permissions
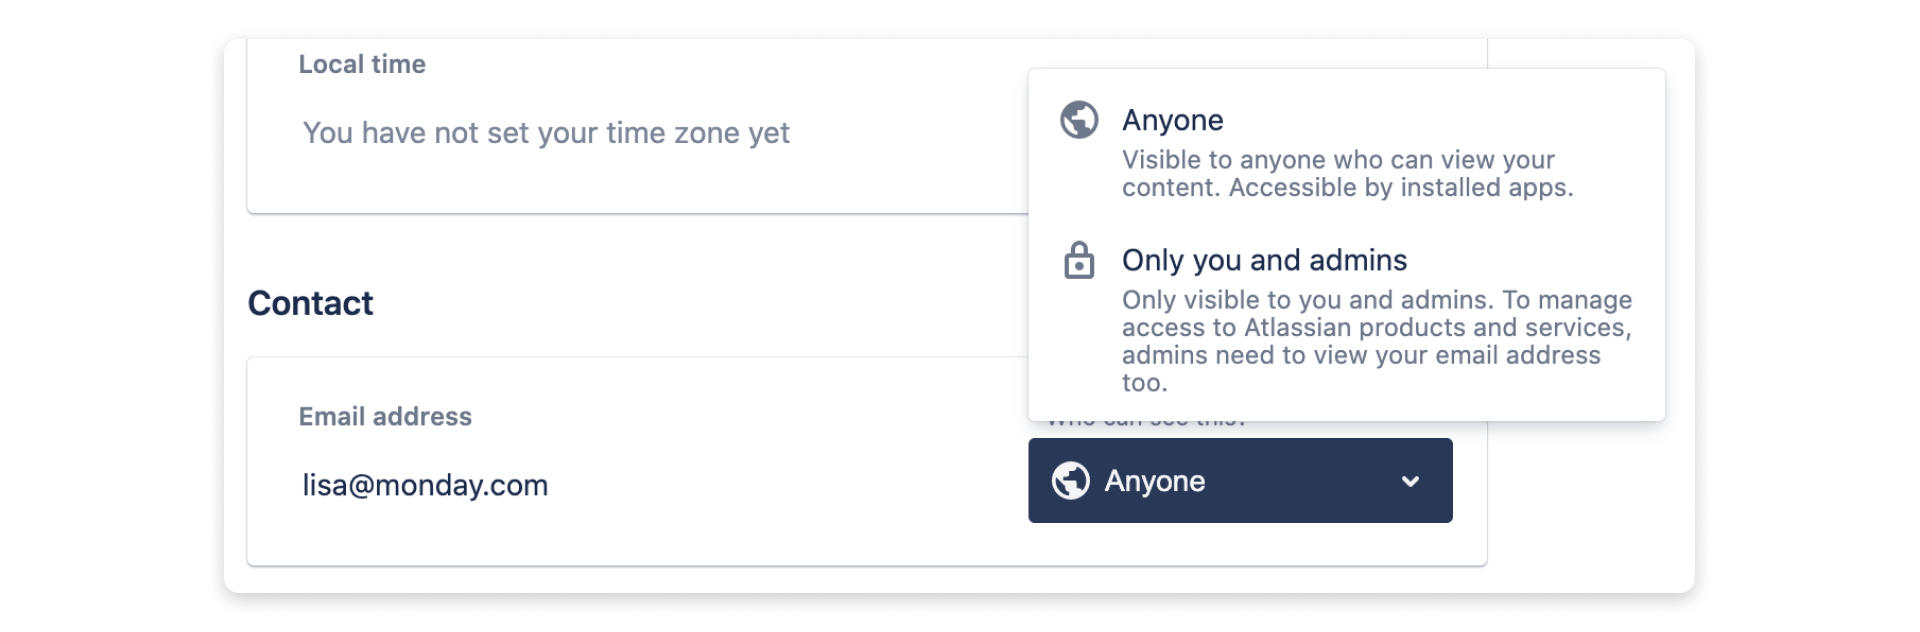
If you want to pull a person into the "Assignee" column on monday.com, you need to change Contact permissions in Jira to "Anyone" for each individual. To change the contact permissions, enter your Jira account, click on your avatar and choose "Account Settings":

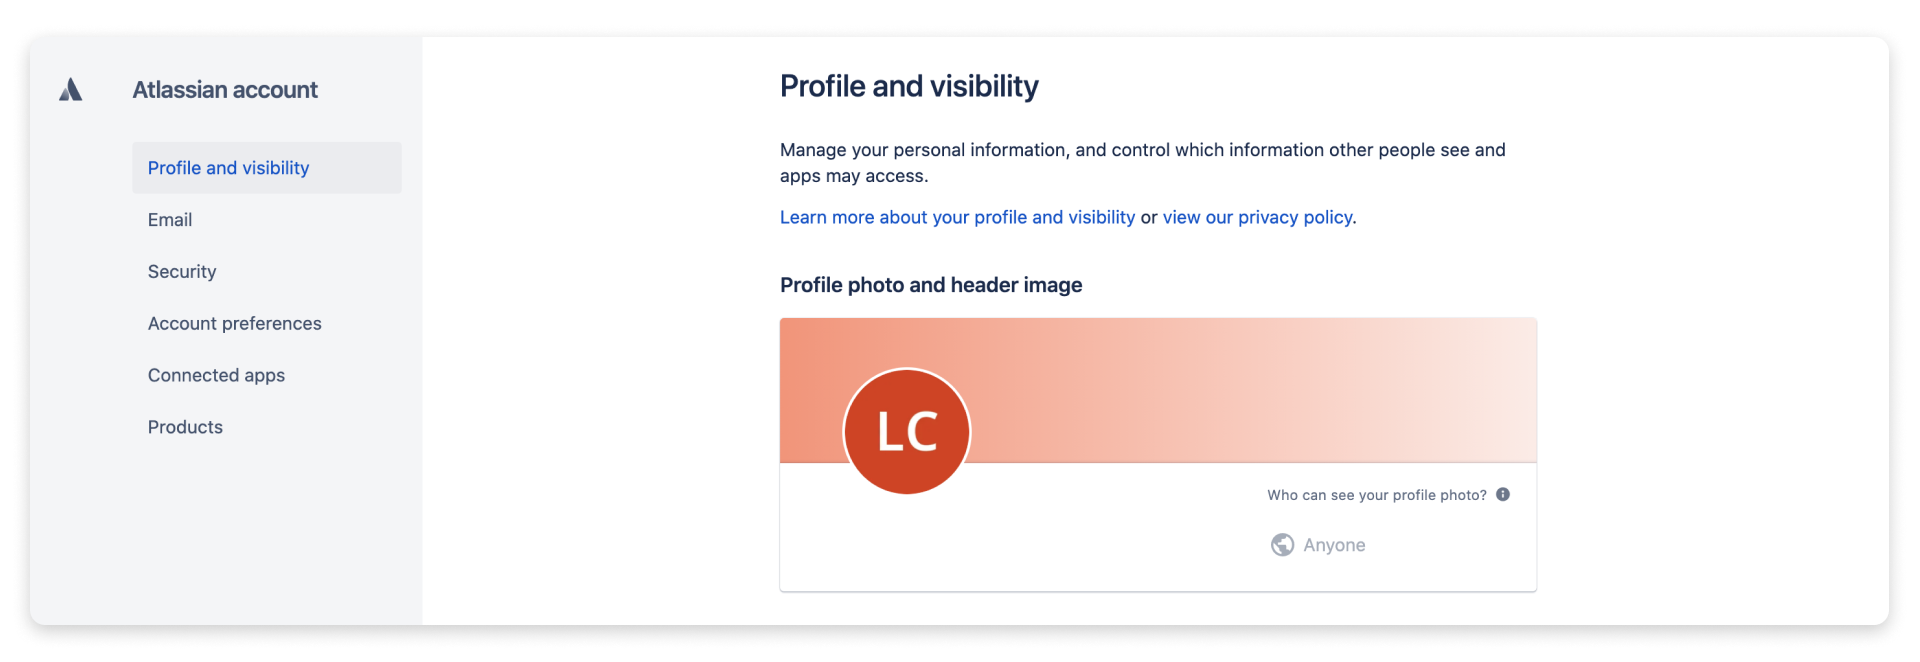
Then, select "Profile and visibility":
Scroll down to "Contact" and next to your email address, choose "Anyone":
Populating the "Assignee" column
To properly populate the "Assignee" column, the email address for the individual on monday.com must be the same as the email address for the individual in Jira.
If the email address is not public in Jira, then the Jira display name will be used instead of the email address to find a match on monday.com for the "Assignee". For this to work, the display name on monday.com needs to be the same as the display name in Jira.
If there are two users with the same display name on monday.com and in Jira, the "Assignee" column will populate with both people.
Create a two-way sync
A two-way sync occurs when data is being both pushed from monday.com into Jira and pulled from Jira into monday.com. This makes it so that your data matches in both platforms and remains up-to-date.
To create a two-way sync, in addition to the recipe used in the first example: "When an issue is created in this project, create an item and sync future changes from Jira"
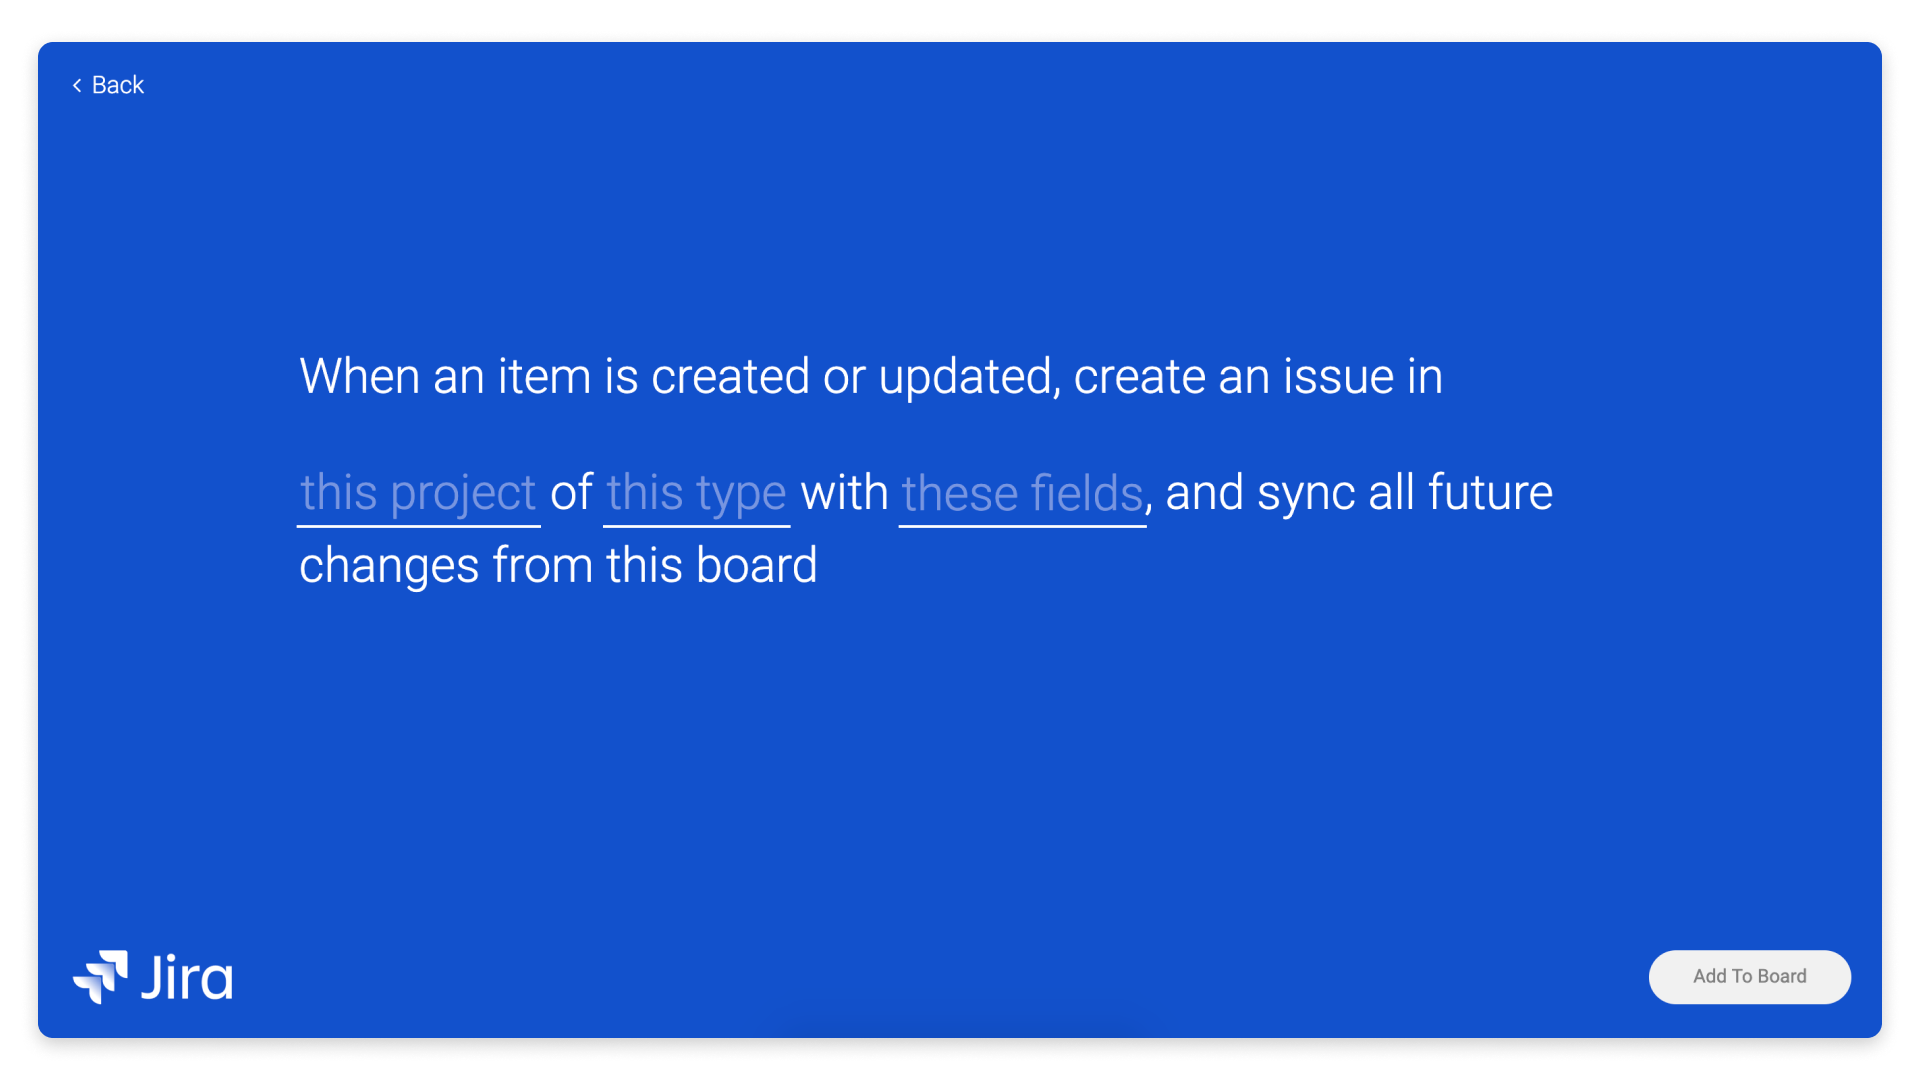
You'll need to set up the following recipe: "When an item is created or updated, create an issue in this project of this type with these fields, and sync all future changes from this board"
Choose the correct project. In this case, we're going to use "KB Iteration Planning" again. For the type, we're also going to choose "Task" again.
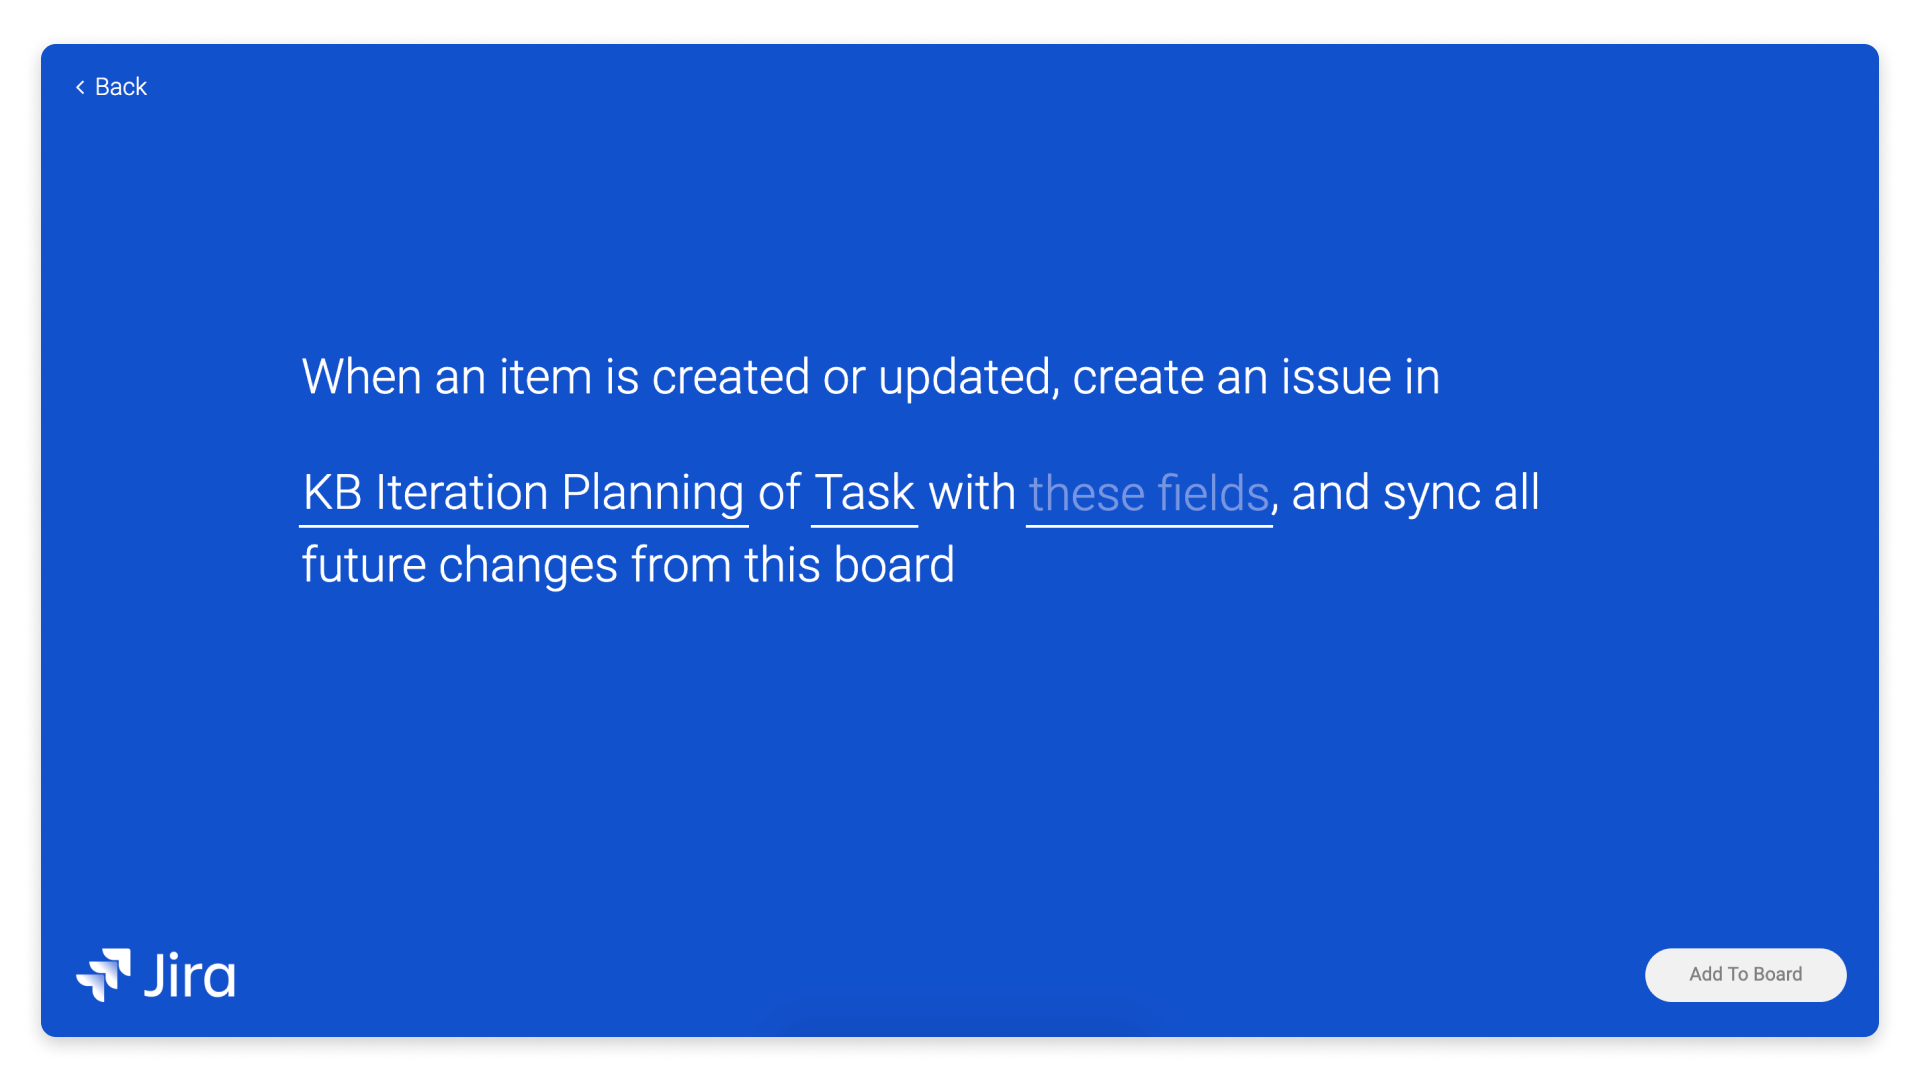
After choosing your project and type, select "these fields" to begin mapping.
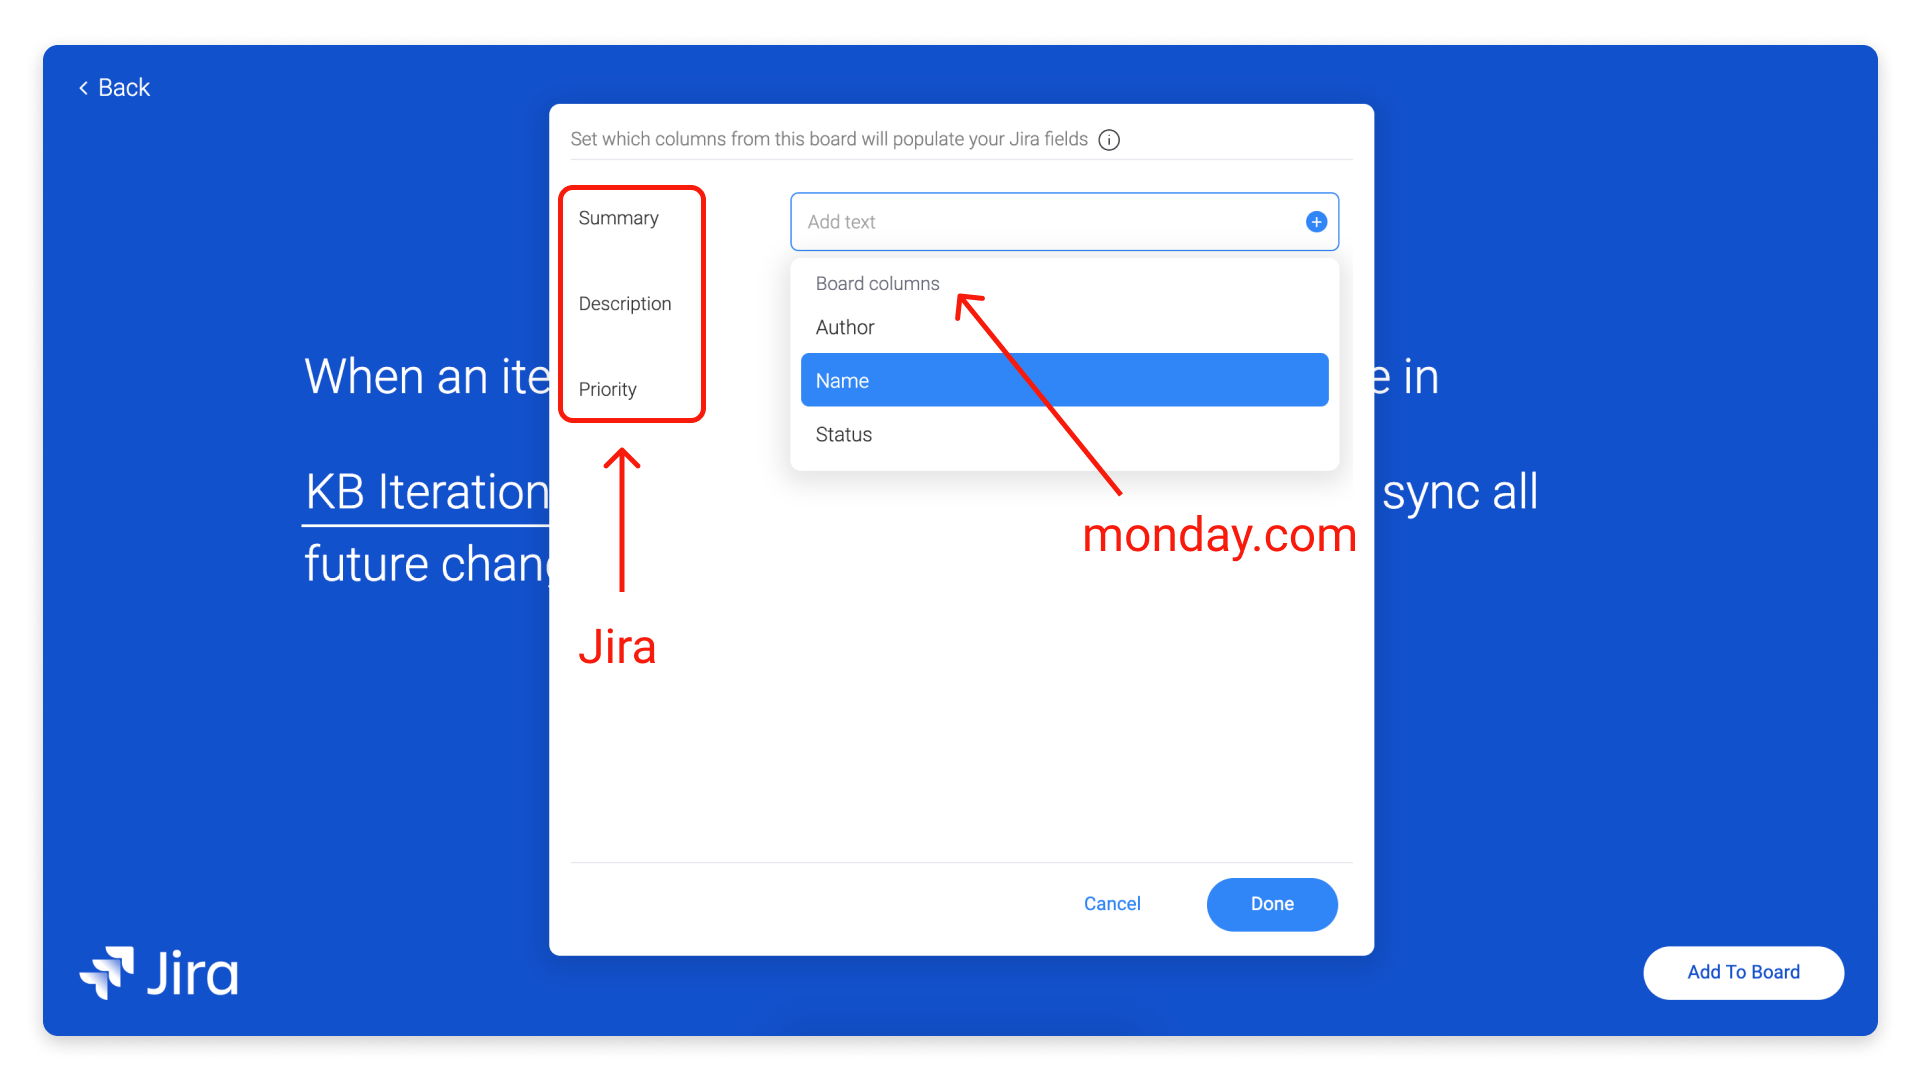
With this recipe, when we’re mapping, the fields to the left are Jira data fields rather than the names of your monday.com columns. Here you’re mapping monday.com columns into Jira. It’s the reverse of the set up we walked through earlier in this article.
Once you finish mapping and click the "Add To Board" button, your two-way sync is ready to go!
Compatible Jira fields
Currently, the following fields are supported when mapping from Jira into monday.com:

The following fields are supported for mapping the integration from monday.com to Jira (the reverse of the above):
Compatible monday.com columns
For an overview of the monday.com columns that are currently supported when mapping from monday.com into Jira, open up the drop down and take a look at the table.
How to delete a recipe
You can turn off and/or delete your integration recipe in the integration menu-
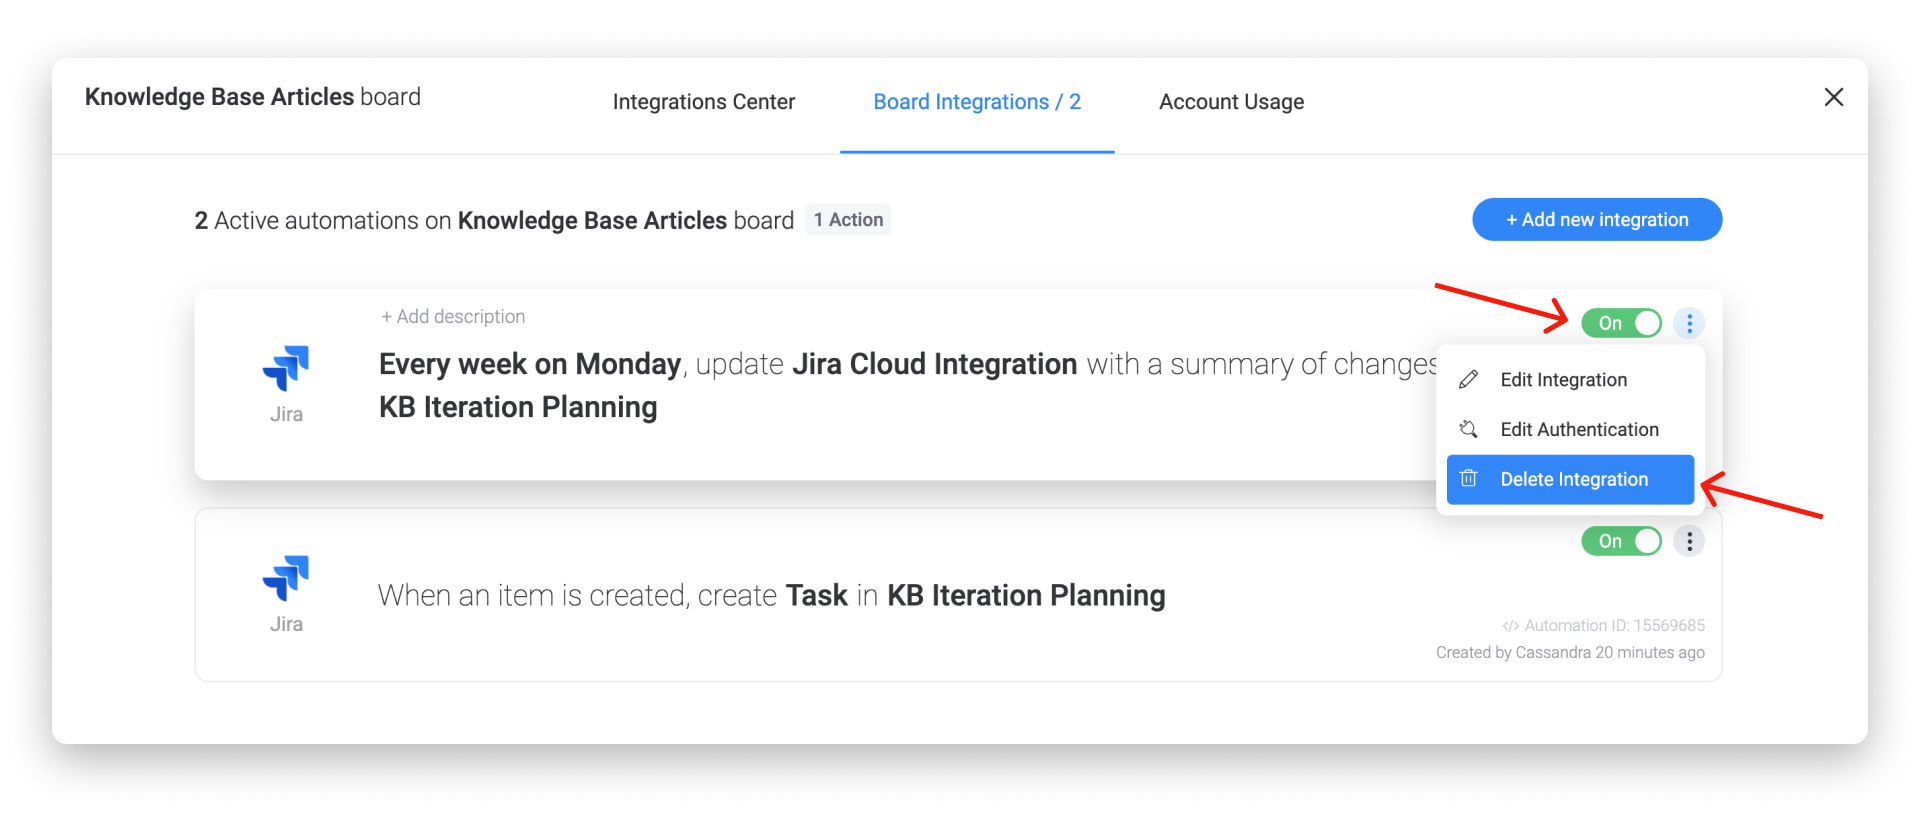
You can also edit the integration and the Jira account you want to connect it to in case you change your mind later!
More assistance
If you need help building custom integrations, we also have an option for paid assistance through our network of certified monday.com partners. If you're interested, please fill out this form and someone will be in touch shortly!
If you have any questions, please reach out to our team right here. We’re available 24/7 and happy to help.
Comments