


 4 min read
 Feature
When moving items from one board that contains a Connect Boards Column which is connected to another board, the connected items will only remain intact if there is a Connect Boards column also on the destination board with the same board connection settings.
Continue reading for step-by-step instructions on how to ensure your items will remain connected when moved between boards.👇🏼
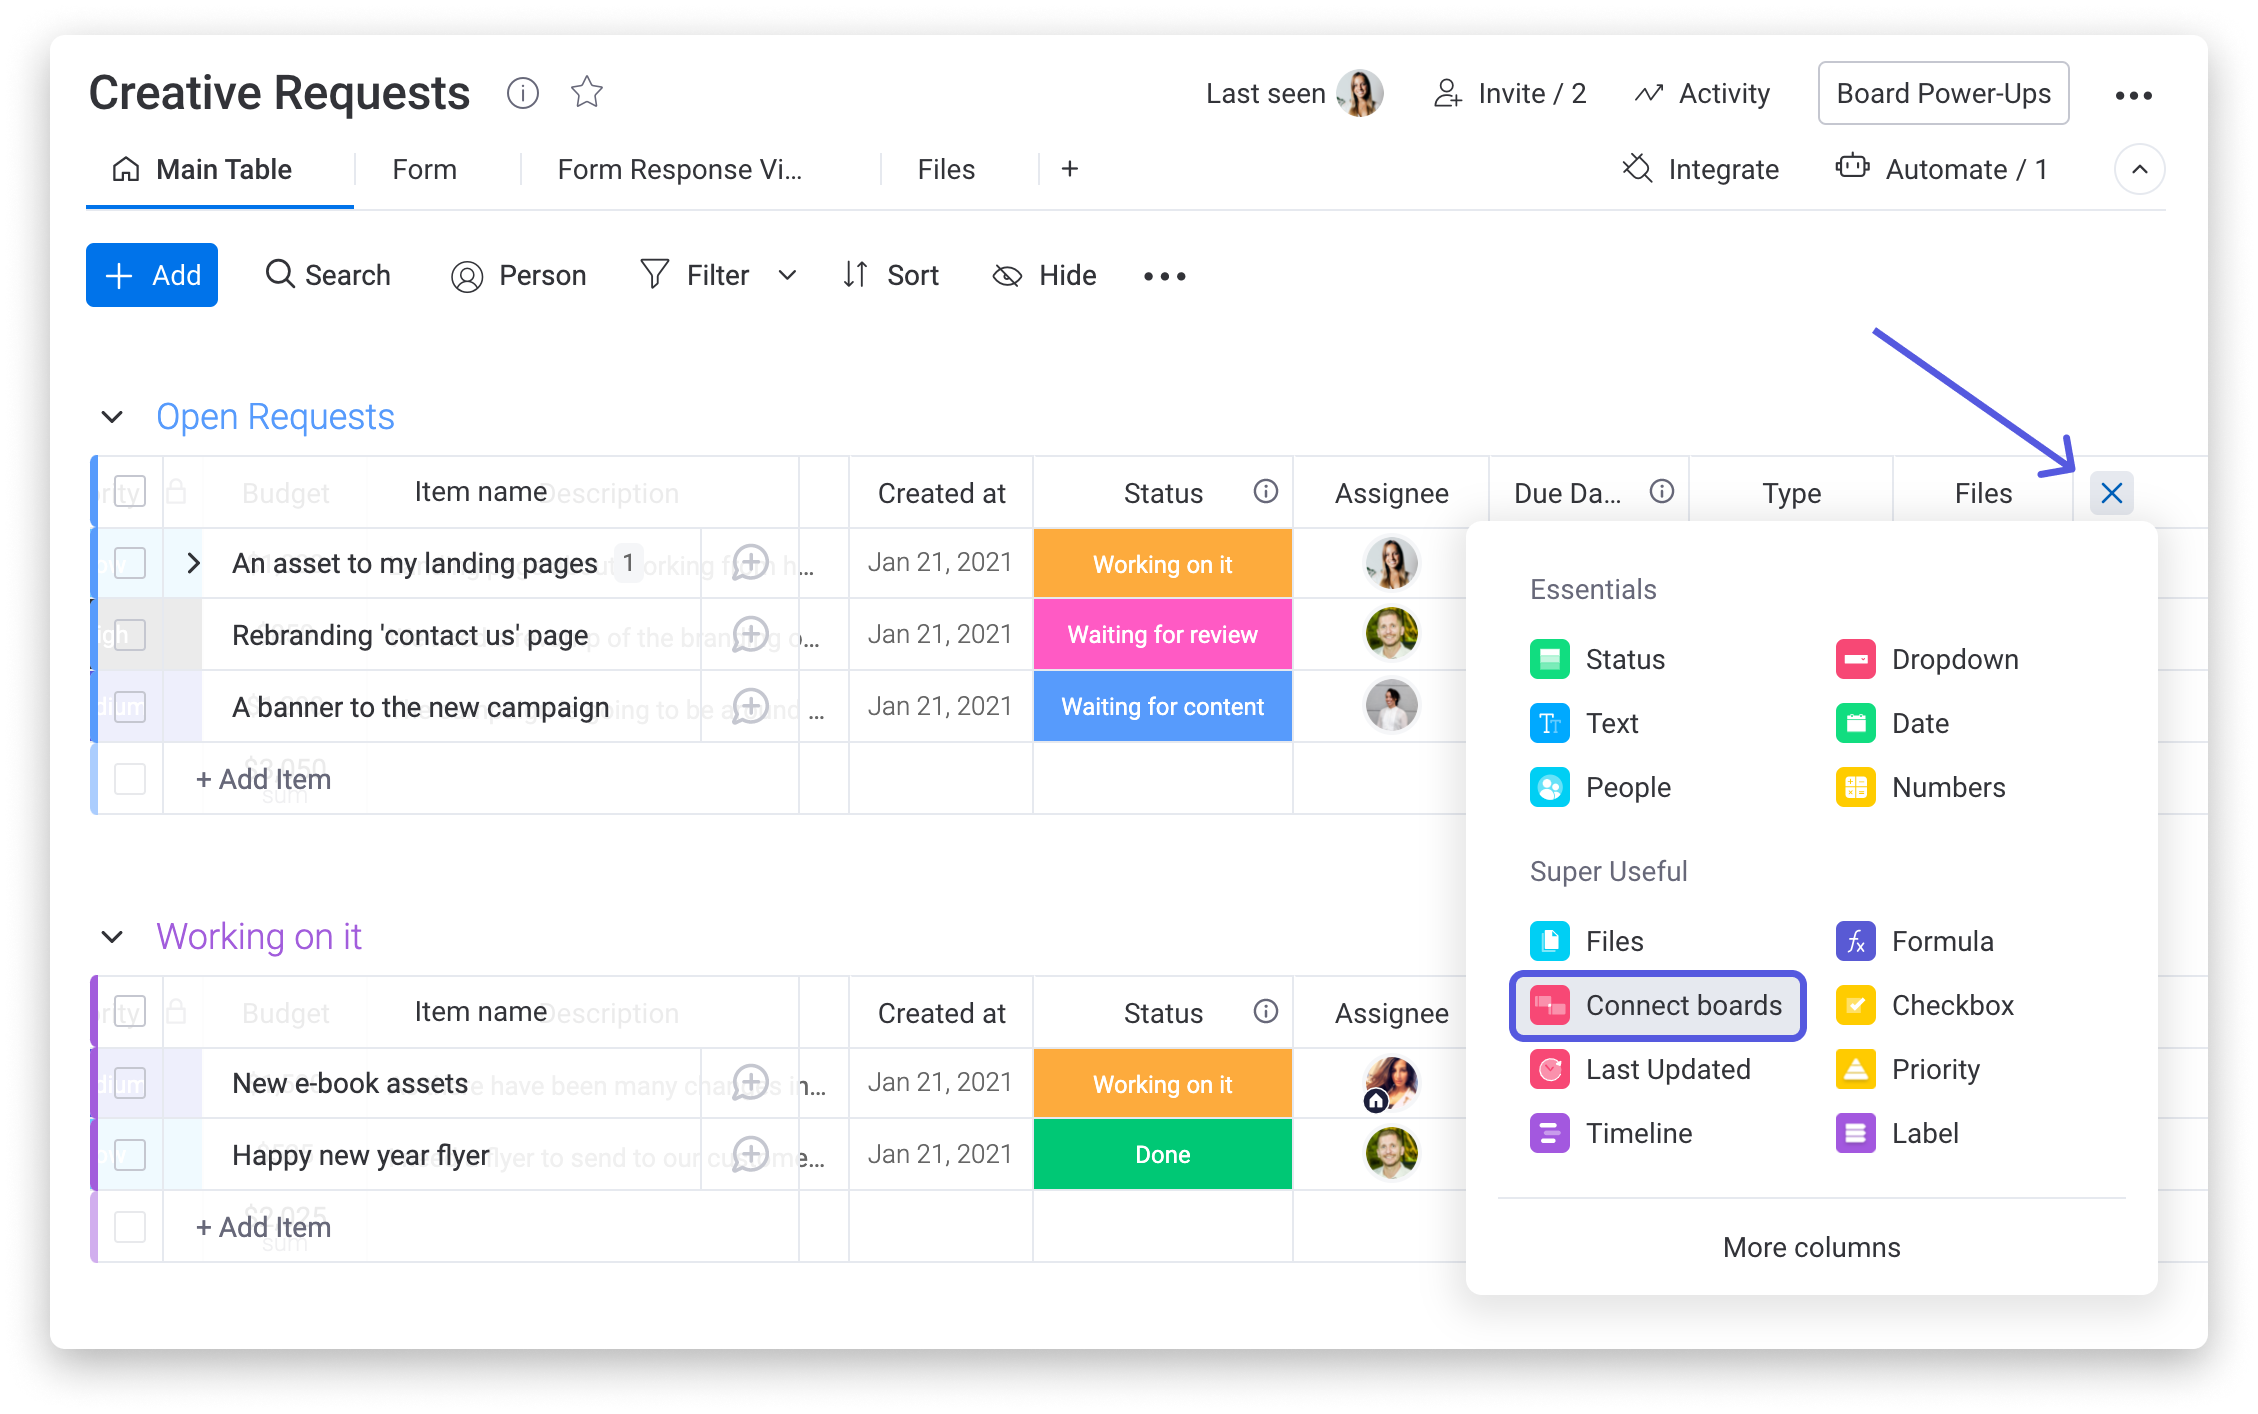
Step 1: Add Connect Boards Column to destination board
The first step to ensure that your connected items will transfer when moved from one board to another is to add a Connect Boards Column on the destination board (the board where the items are being moved to) if you do not have one there already.
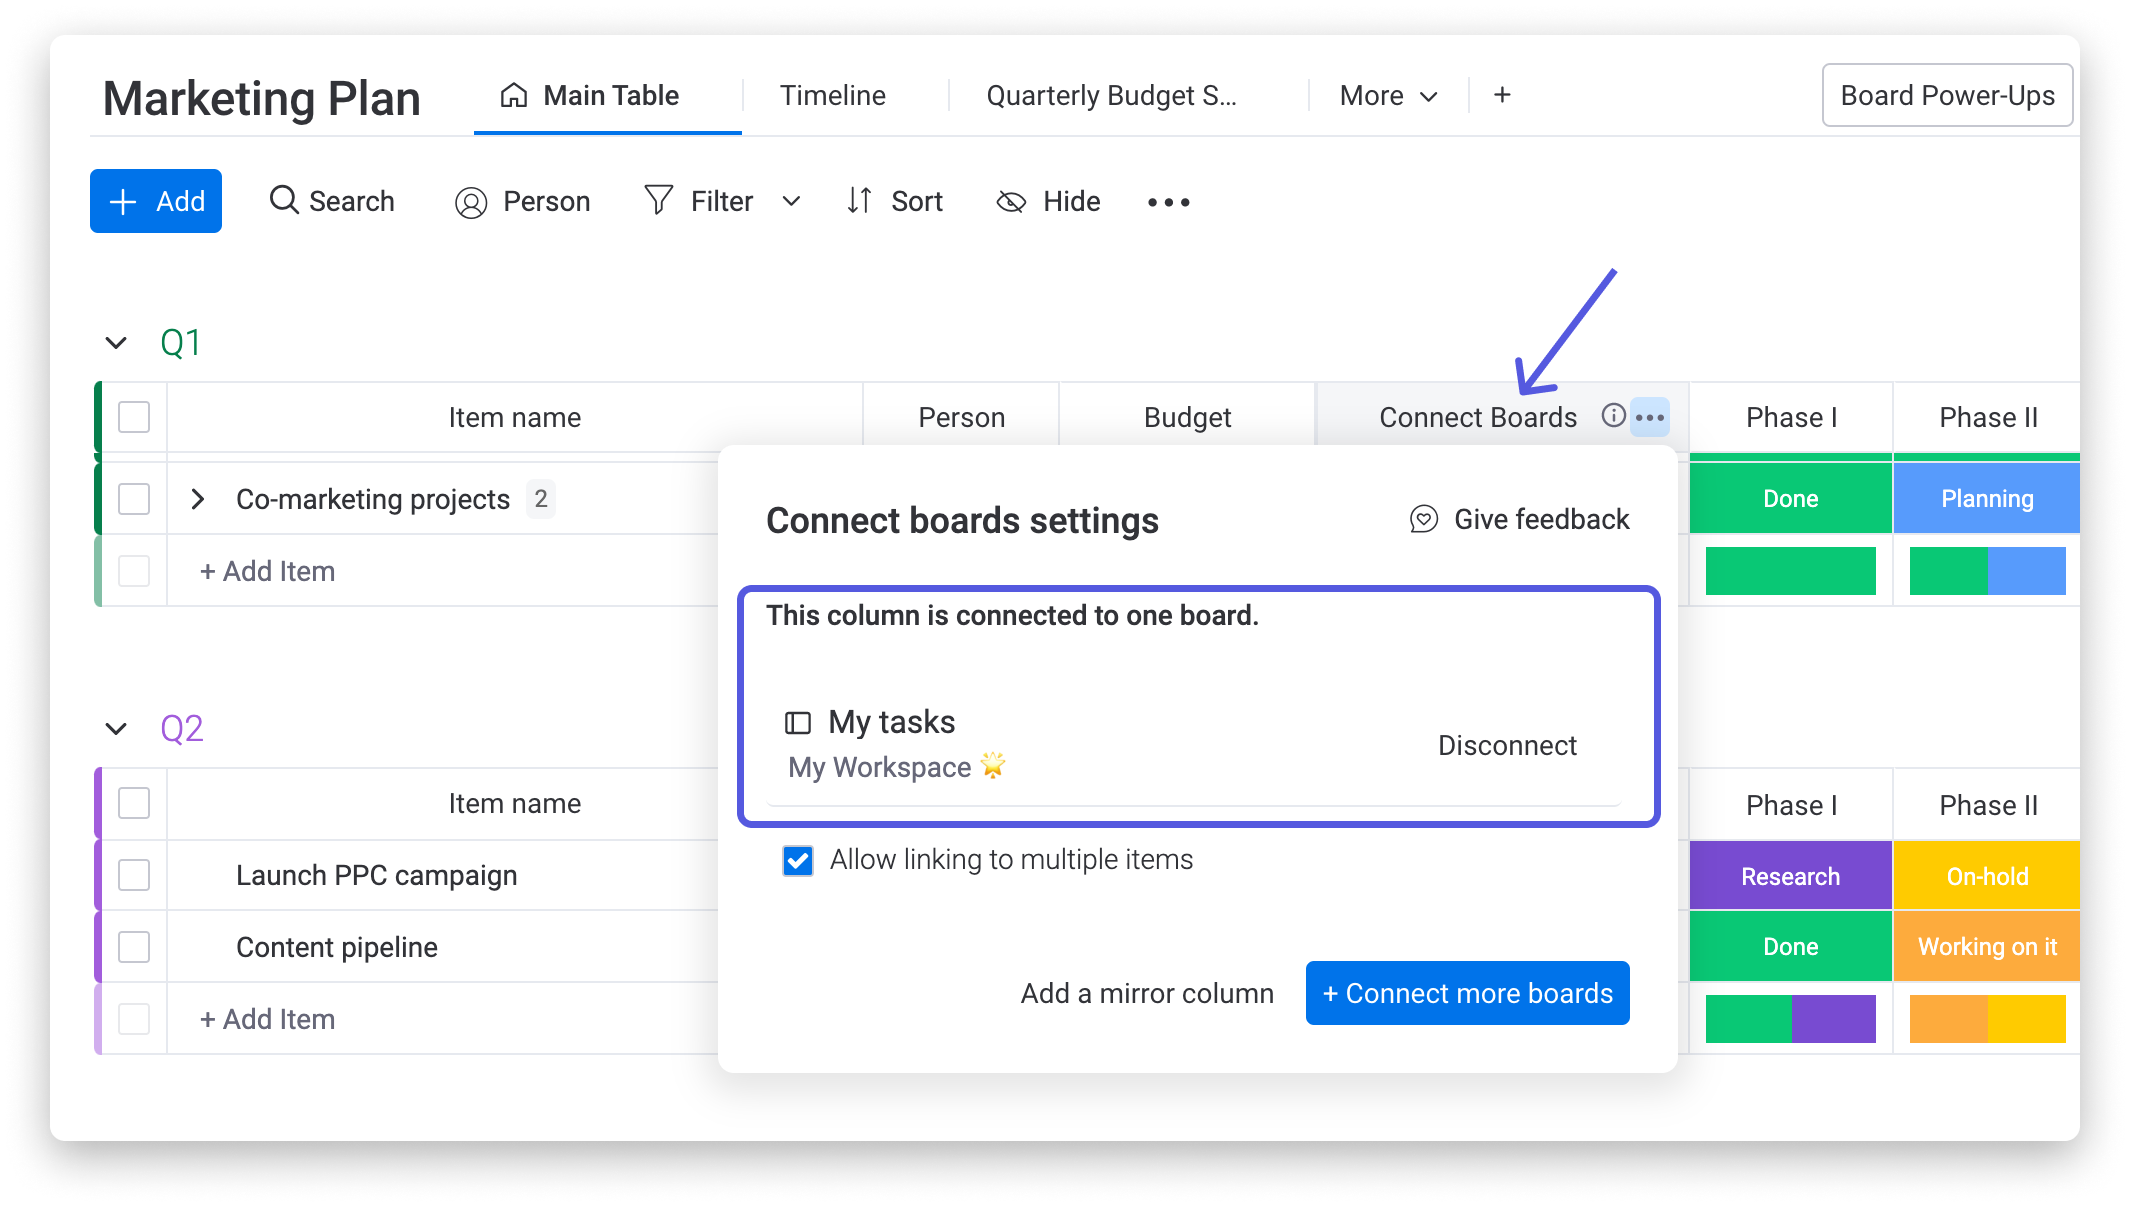
Step 2: Ensure the Connect Board settings are the same
Next, it is important that the Connect Boards Column located in the destination board has the same board(s) connected in the column settings as the current board (the board where the items are moved from. Additionally, the Connect Board Column linkage settings (whether a two-way connection is selected or not) must be the same on both boards.
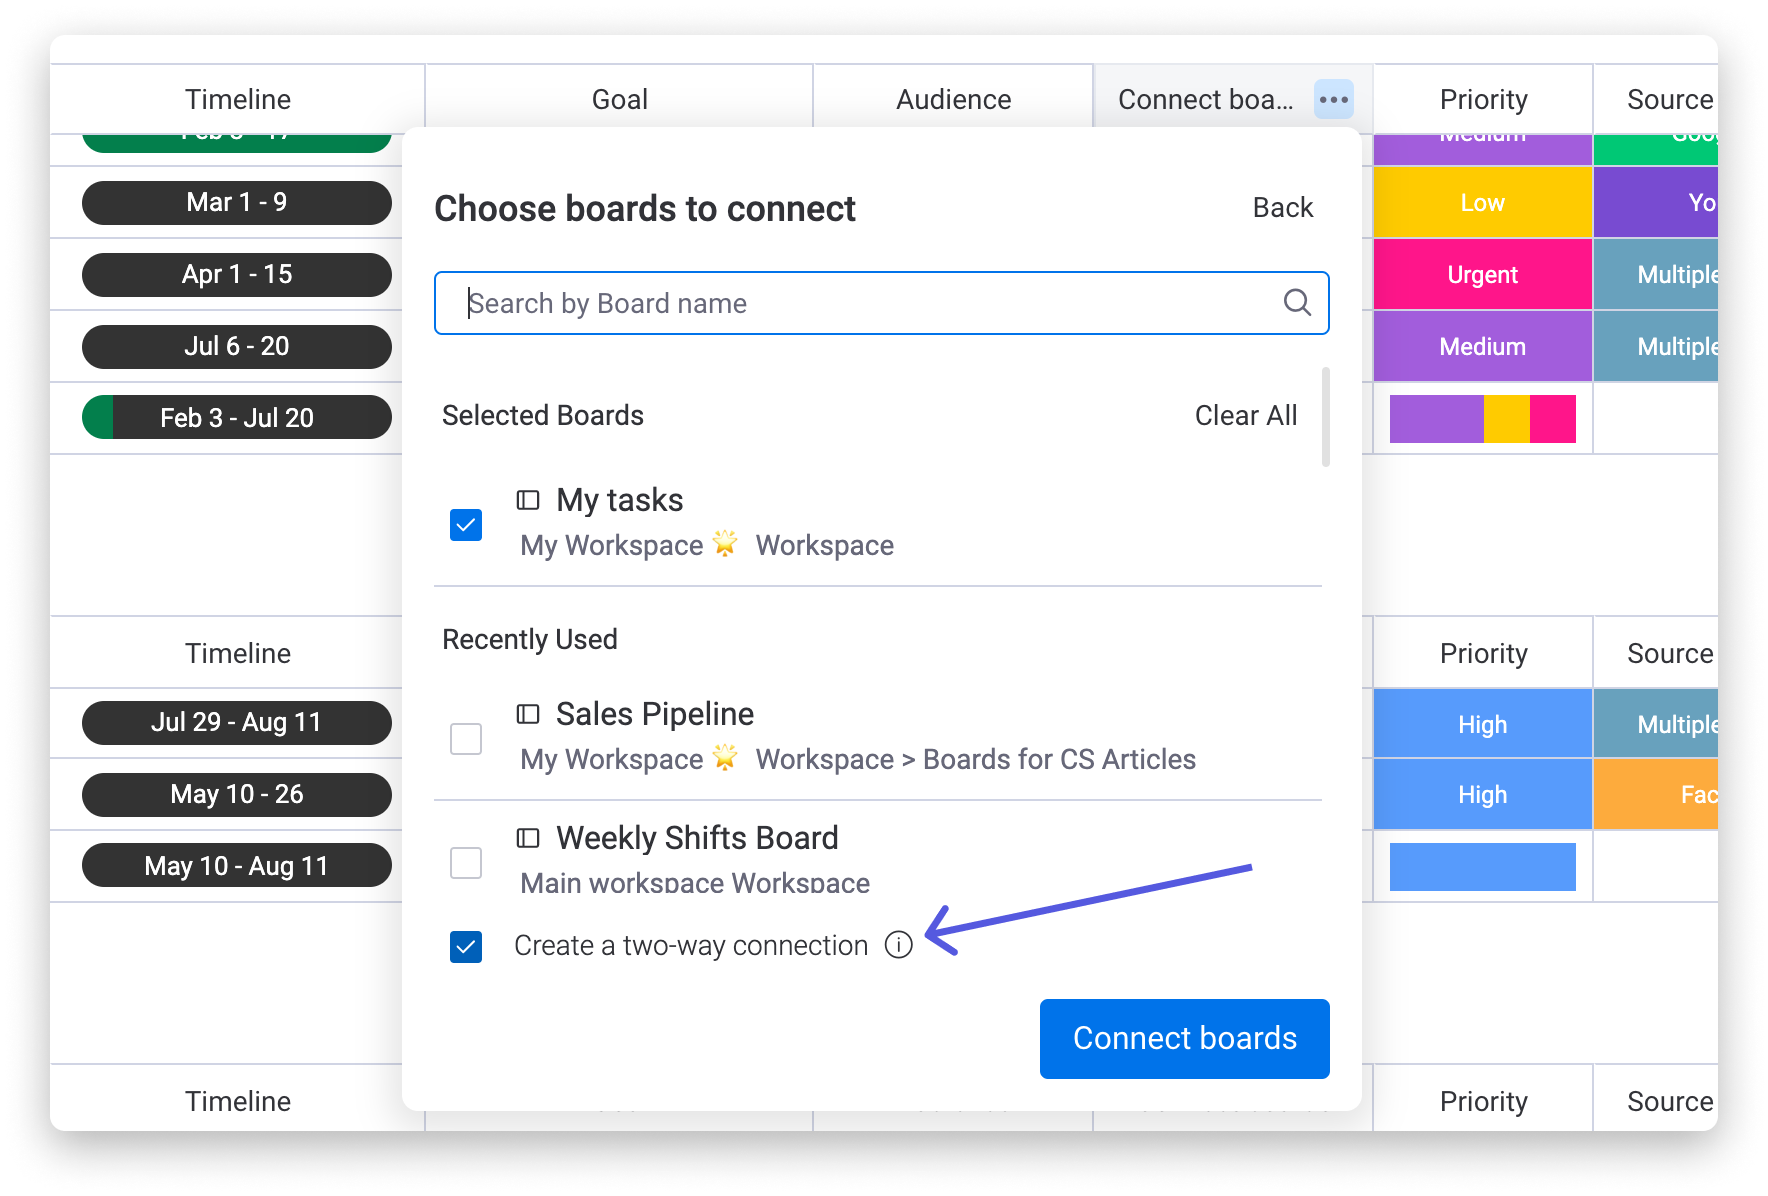
As an example, the below board is connected to another one called "My Tasks" with a two-way connection. If I want to move items from this board to a different one, I have to make sure that the second board (the destination board) contains a Connect Boards Column which is also connected to a board called "My Tasks" with the two-way connection setting enabled.
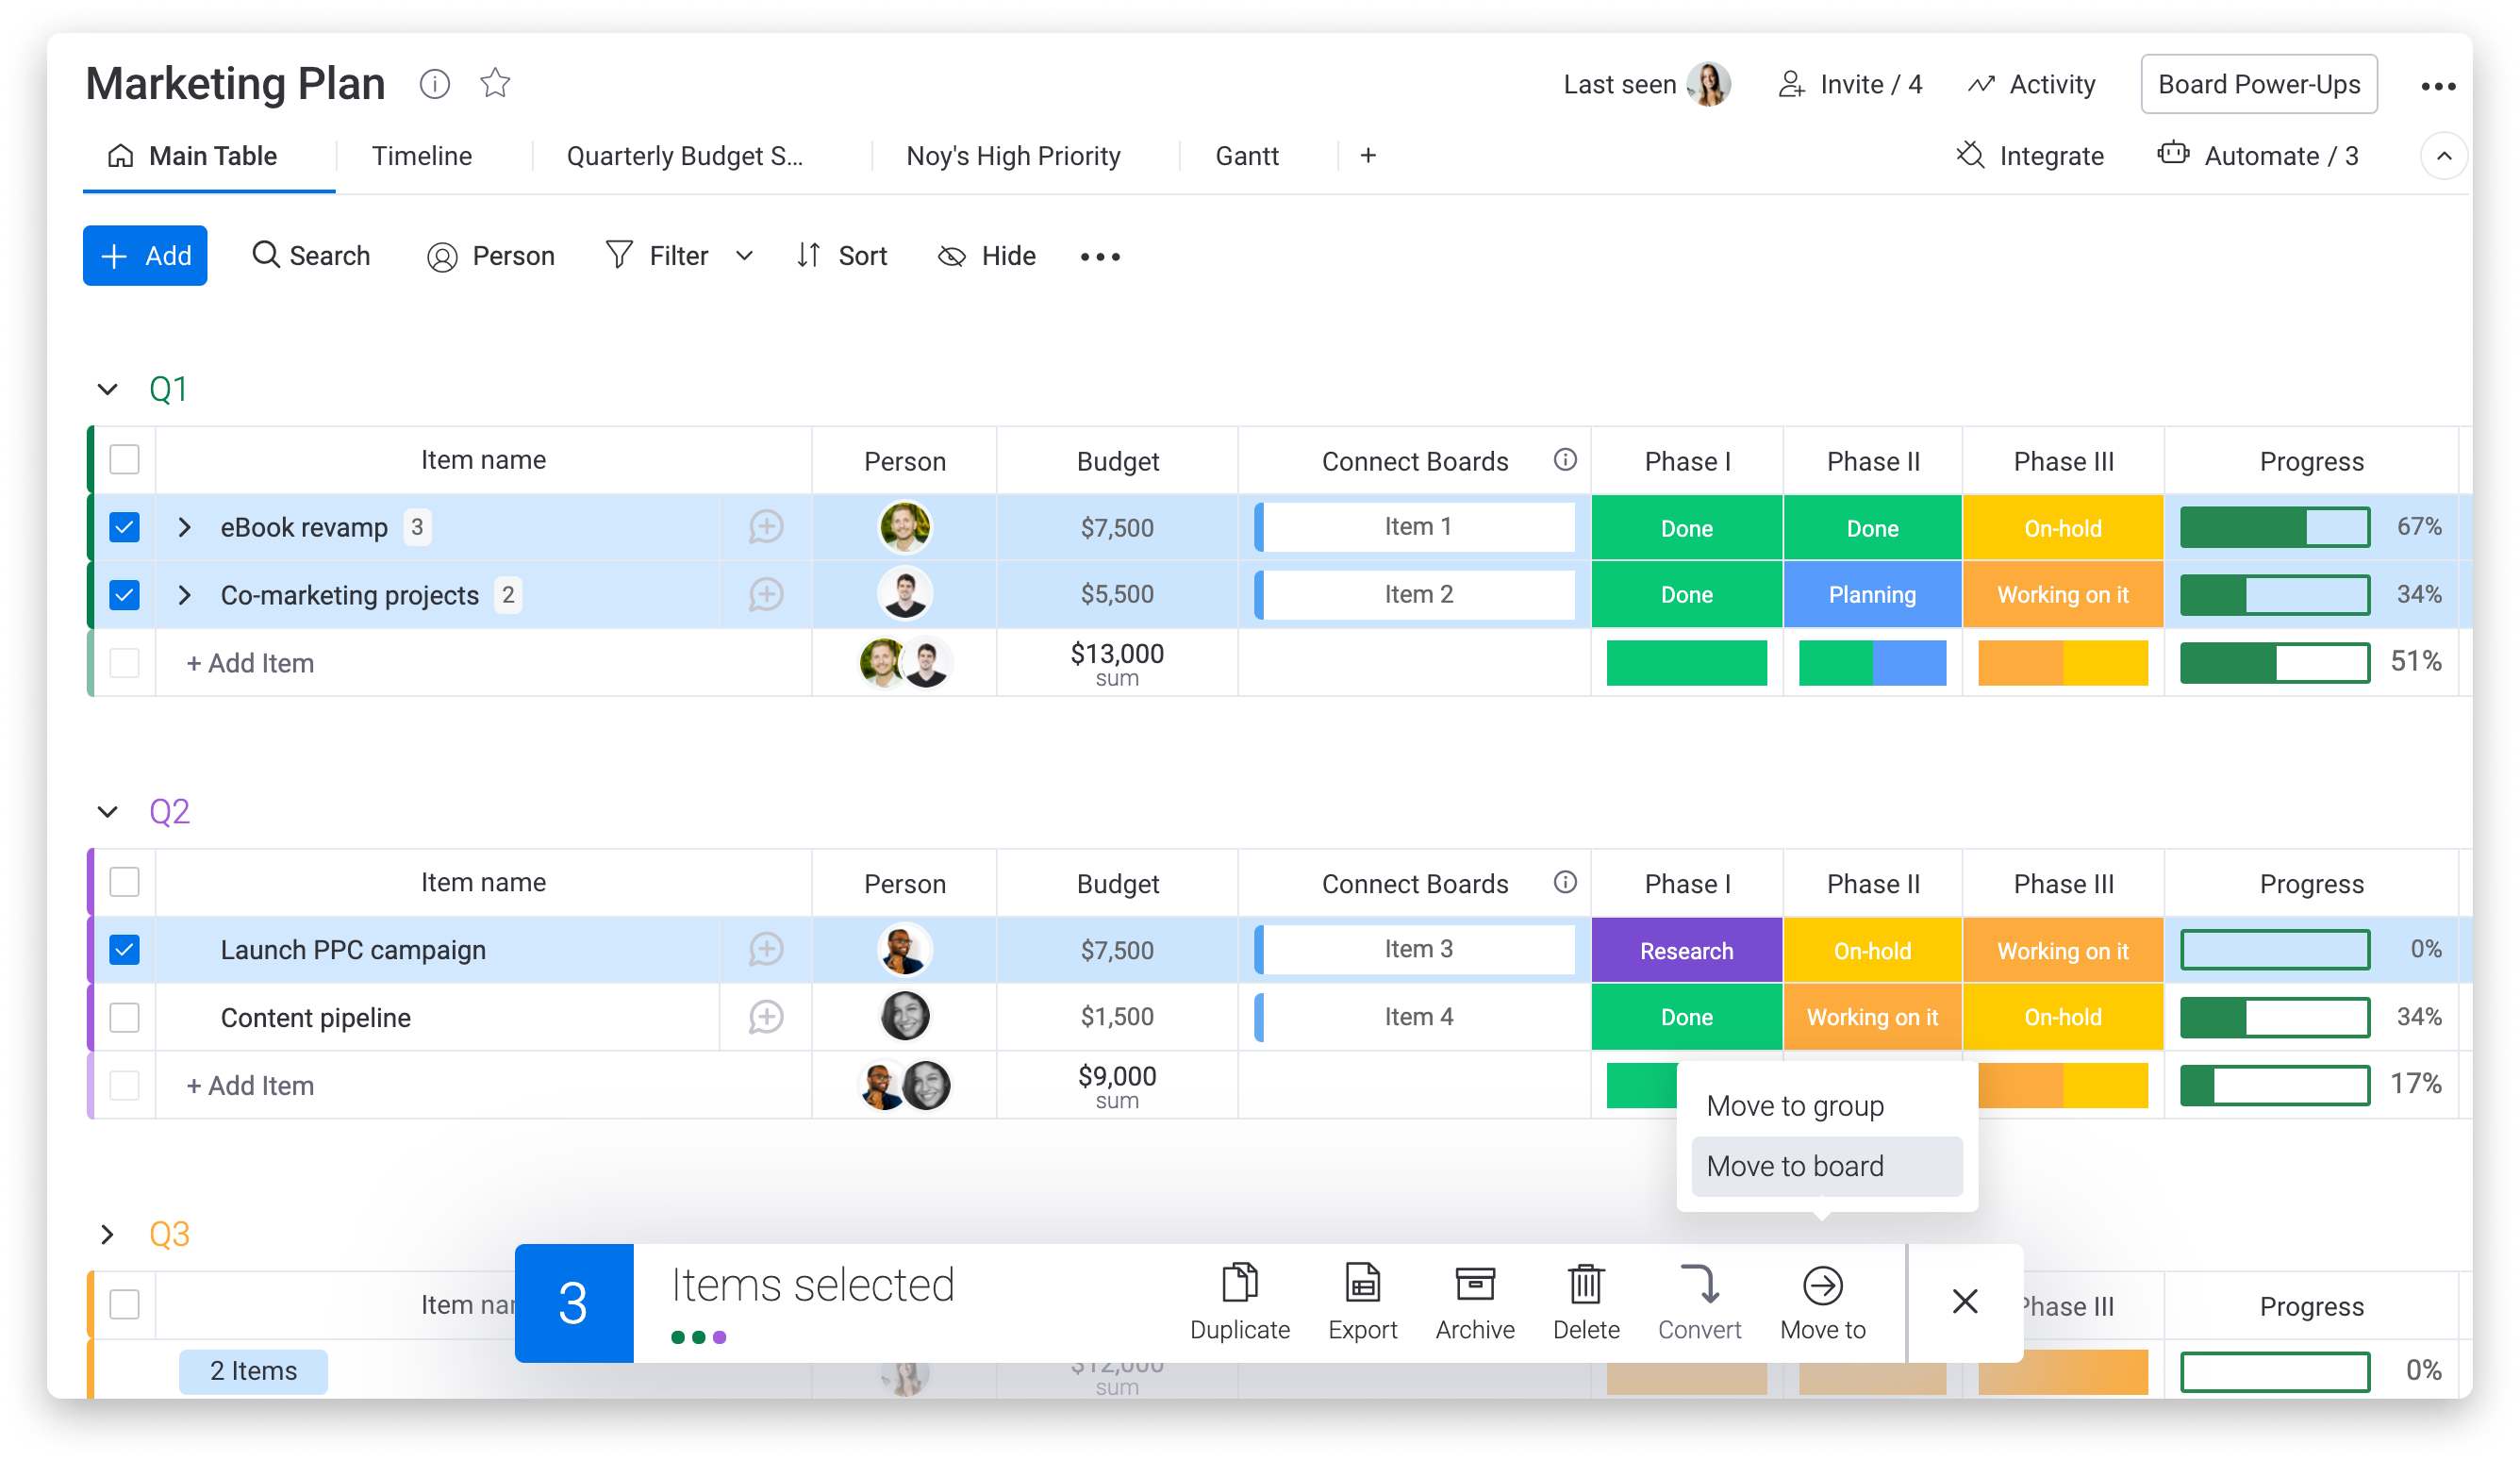
Step 3: Move items and map out column details
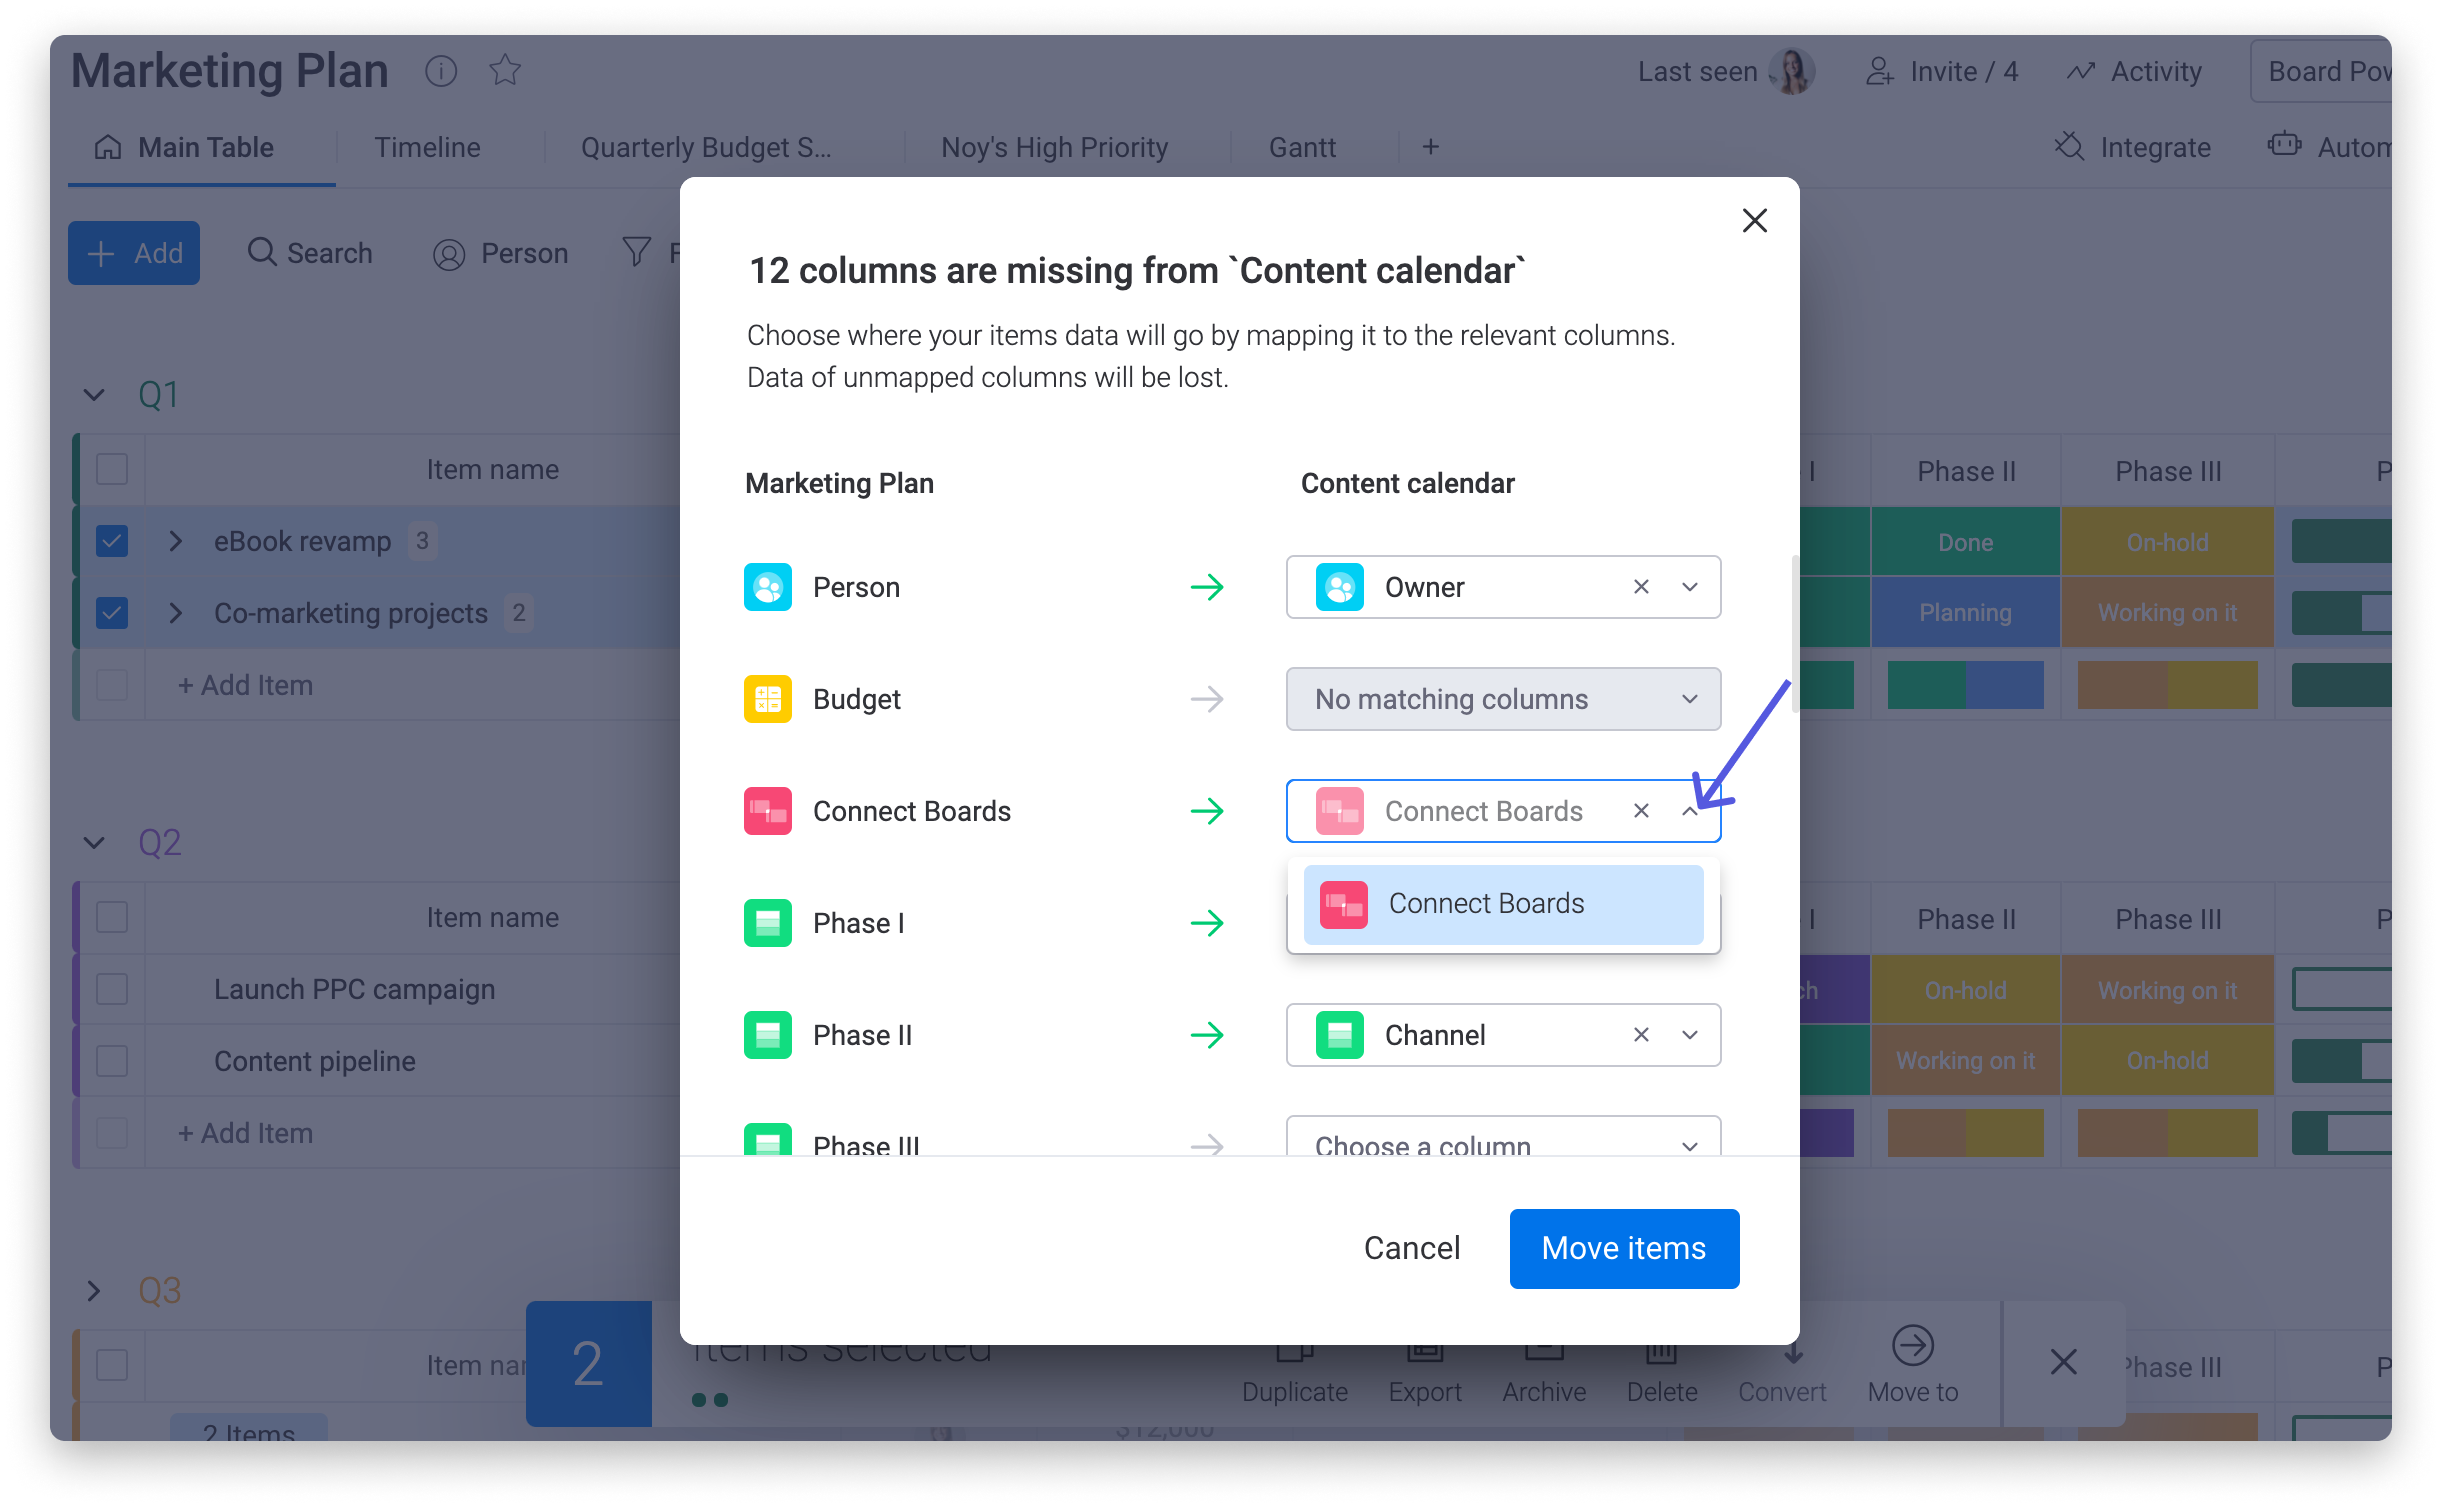
Next, it's time to move your items and make sure that the correct Connect Boards Column is chosen in the column mapping! To do this, select the items that you want to move, click on "Move to" on the bottom pane, and "Move to board" and then choose your destination board.
After choosing your destination board, you'll be able to map out the column details to ensure that your data gets moved over correctly! Here, make sure to select the correct Connect Boards Column in the destination board (the one that has the same connected boards as mentioned in step 2!):
Next, select the blue "Move items" button and the connected items in your Connect Boards Column should remain intact when moved from one board to another. 🌟
Instantly add a Connect Boards Column as you move items
Another way to ensure that there is a Connect Boards Column on your destination board with the same board connections is to add it directly from the "mapping" screen that appears as you move the items!
To do this, select your items and click to move them to another board. Then, on the column mapping screen as shown below, click on the "Choose a column" dropdown to the right of your Connect Boards Column and select "+ Add as a new column". Clicking this will instantly create a new Connect Boards Column on your destination board with the same exact settings configured. 🙌
If you have any questions, please reach out to our team right here. We’re available 24/7 and happy to help.
Comments