


With this integration, you are able to manage your tasks, issues, and bugs from your Jira Server or Jira Data Center account in your monday.com account! Have everything that's important to you in one place and make sure you and your team are on top of everything that you have going on! The following instructions work for Jira Server and Jira Data Center. Learn more about our Jira integration below 👇
How to add Jira
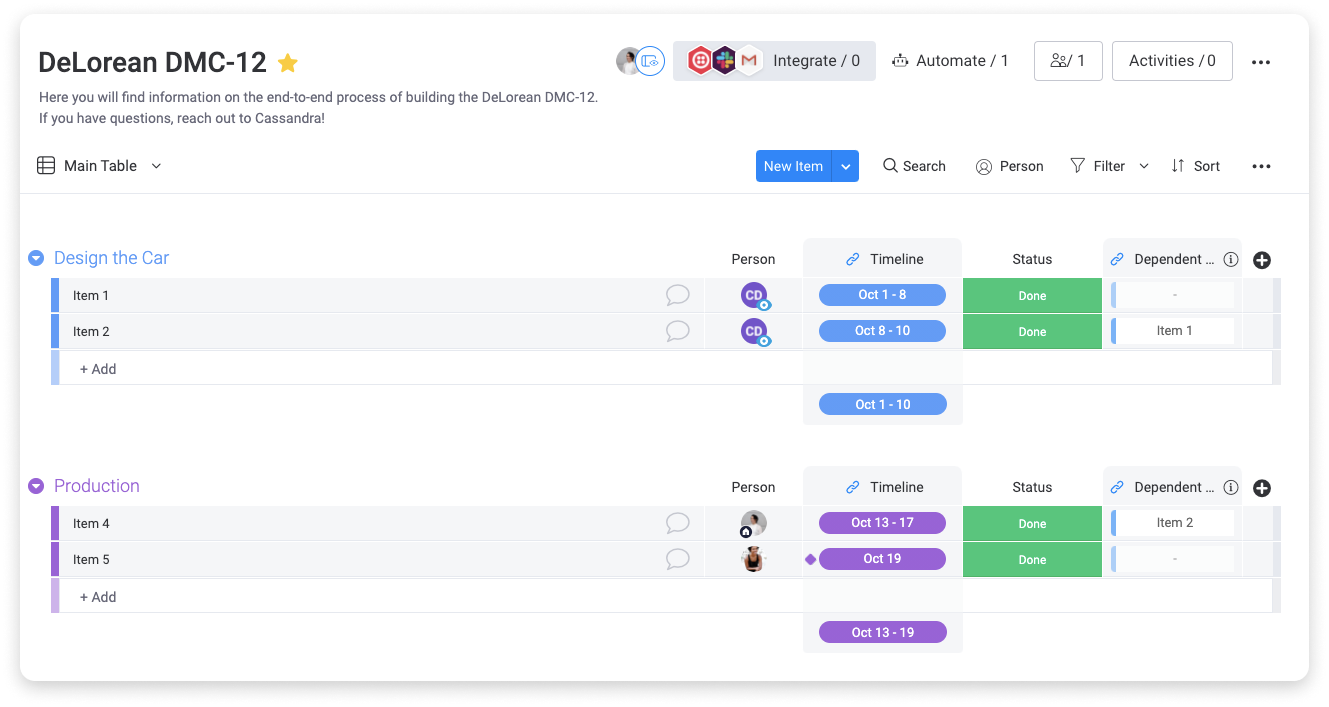
Step 1
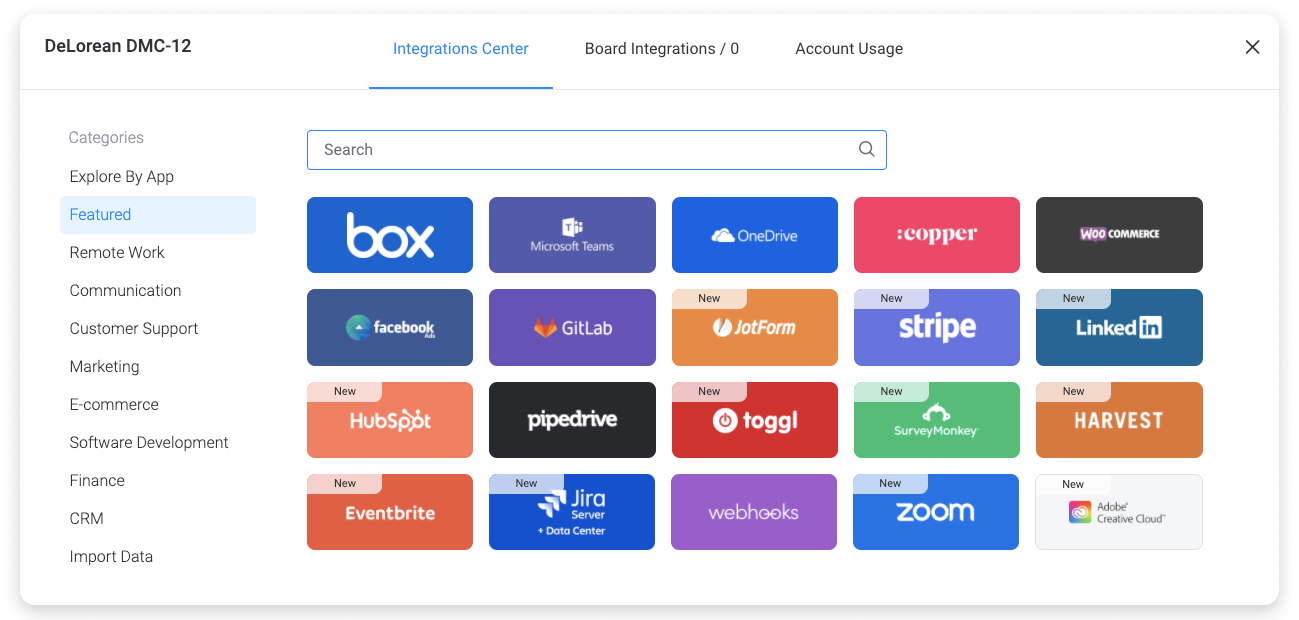
Step 2
Once you click on the Jira Server + Data Center integration banner you will find the three recipes the integration offers:
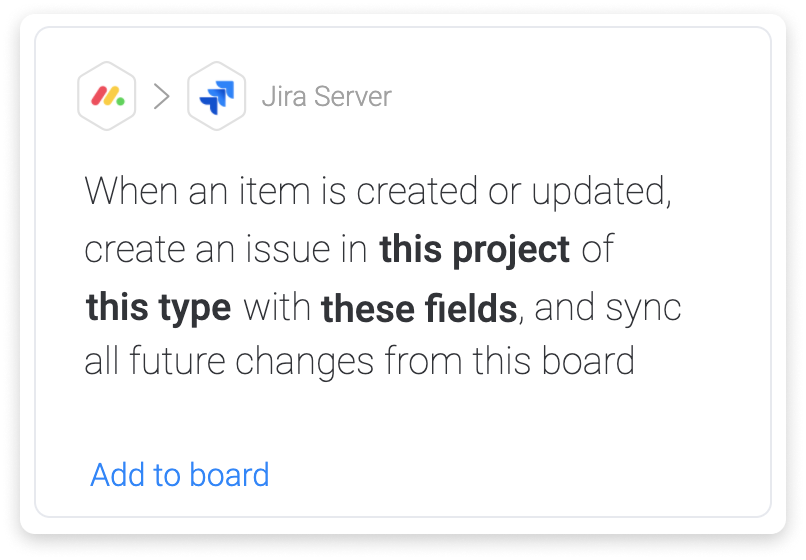
- When an item is created or updated, create an issue in this project of this type with these fields, and sync all future changes from this board
- Every time period, update this item with a summary of changes in this project
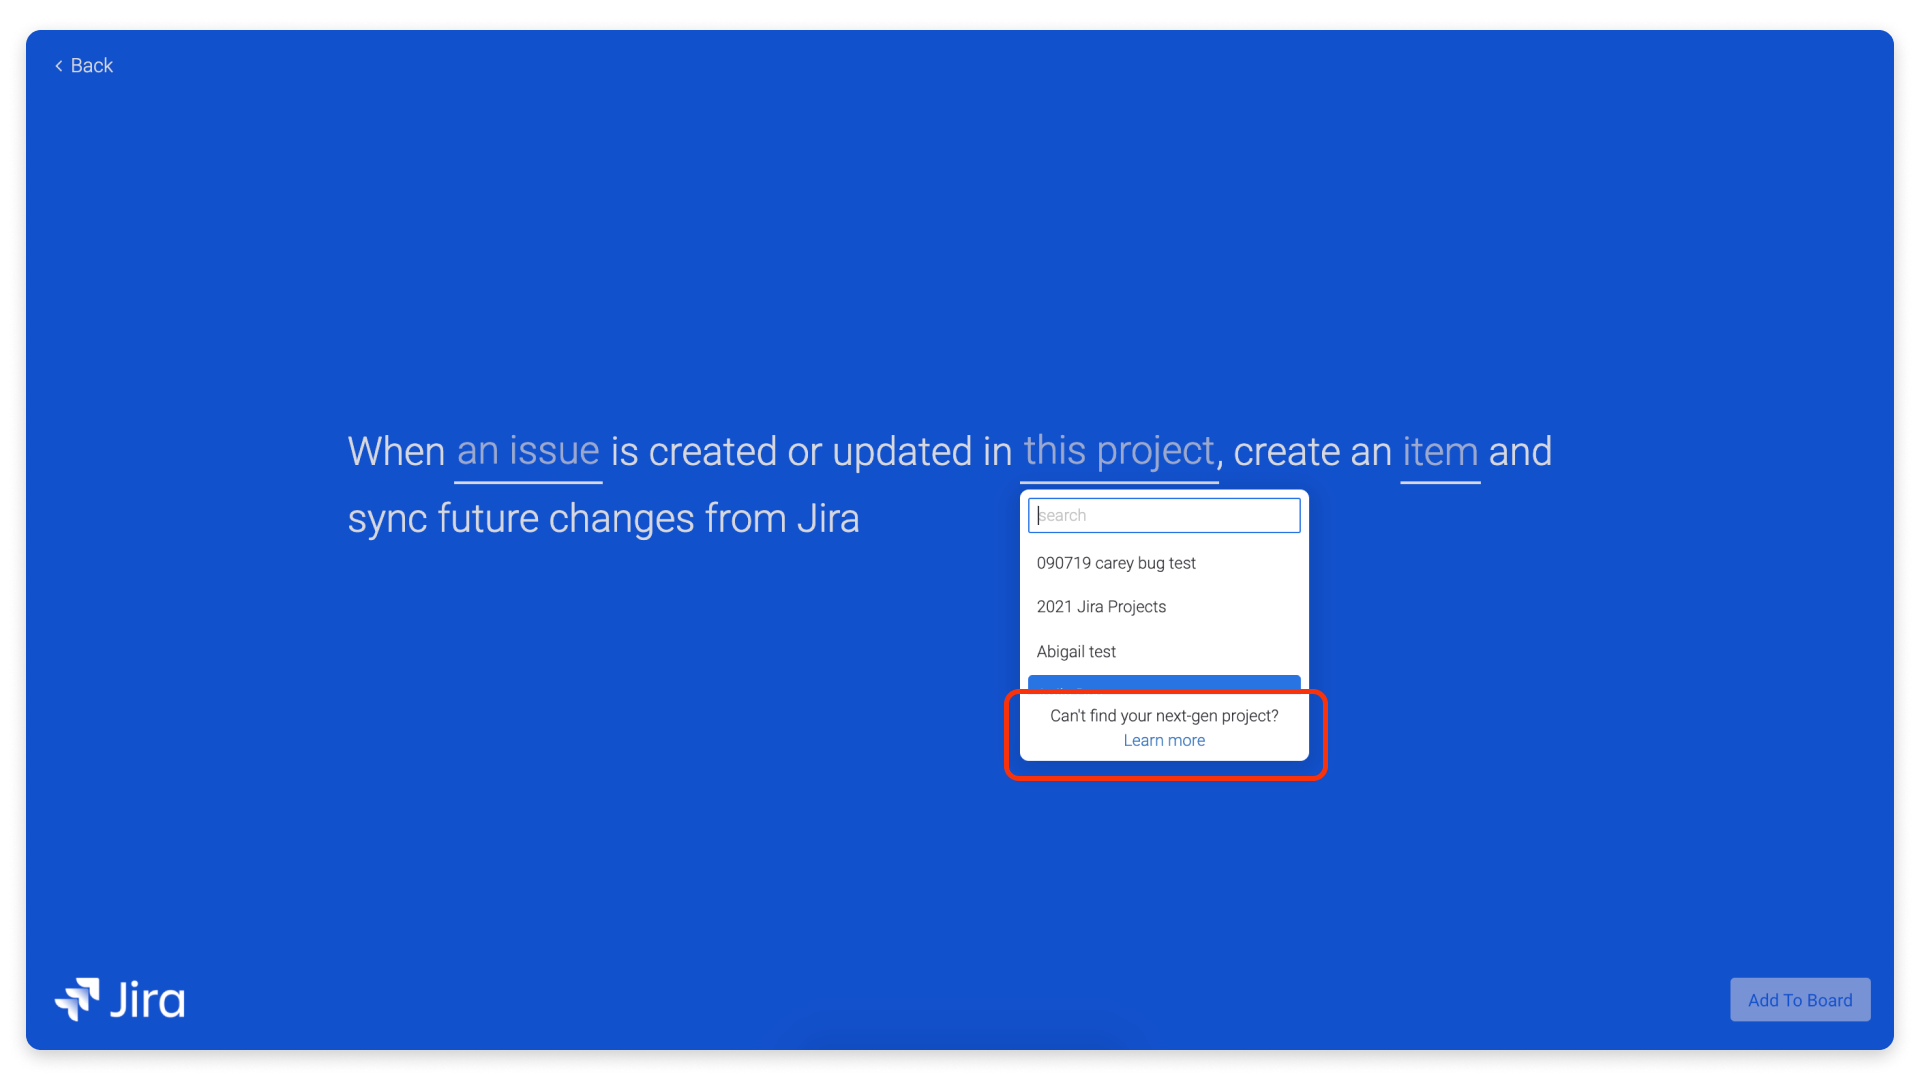
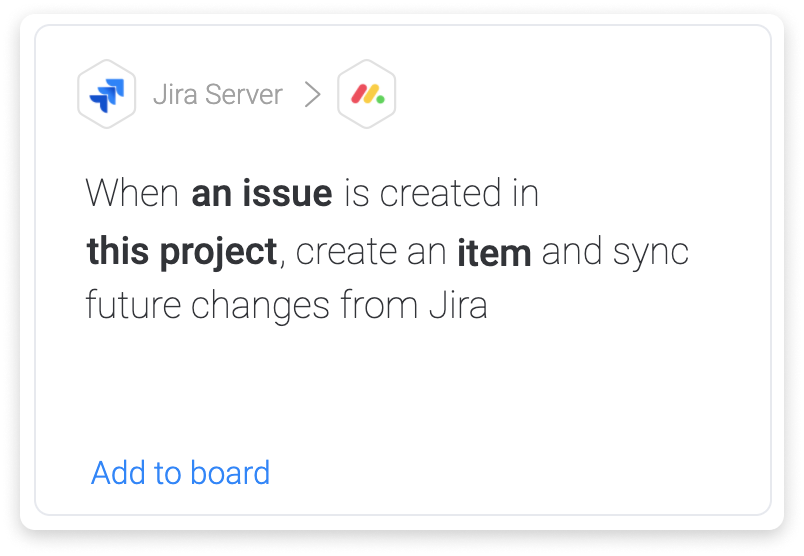
- When an issue is created in this project, create an item and sync future changes from Jira
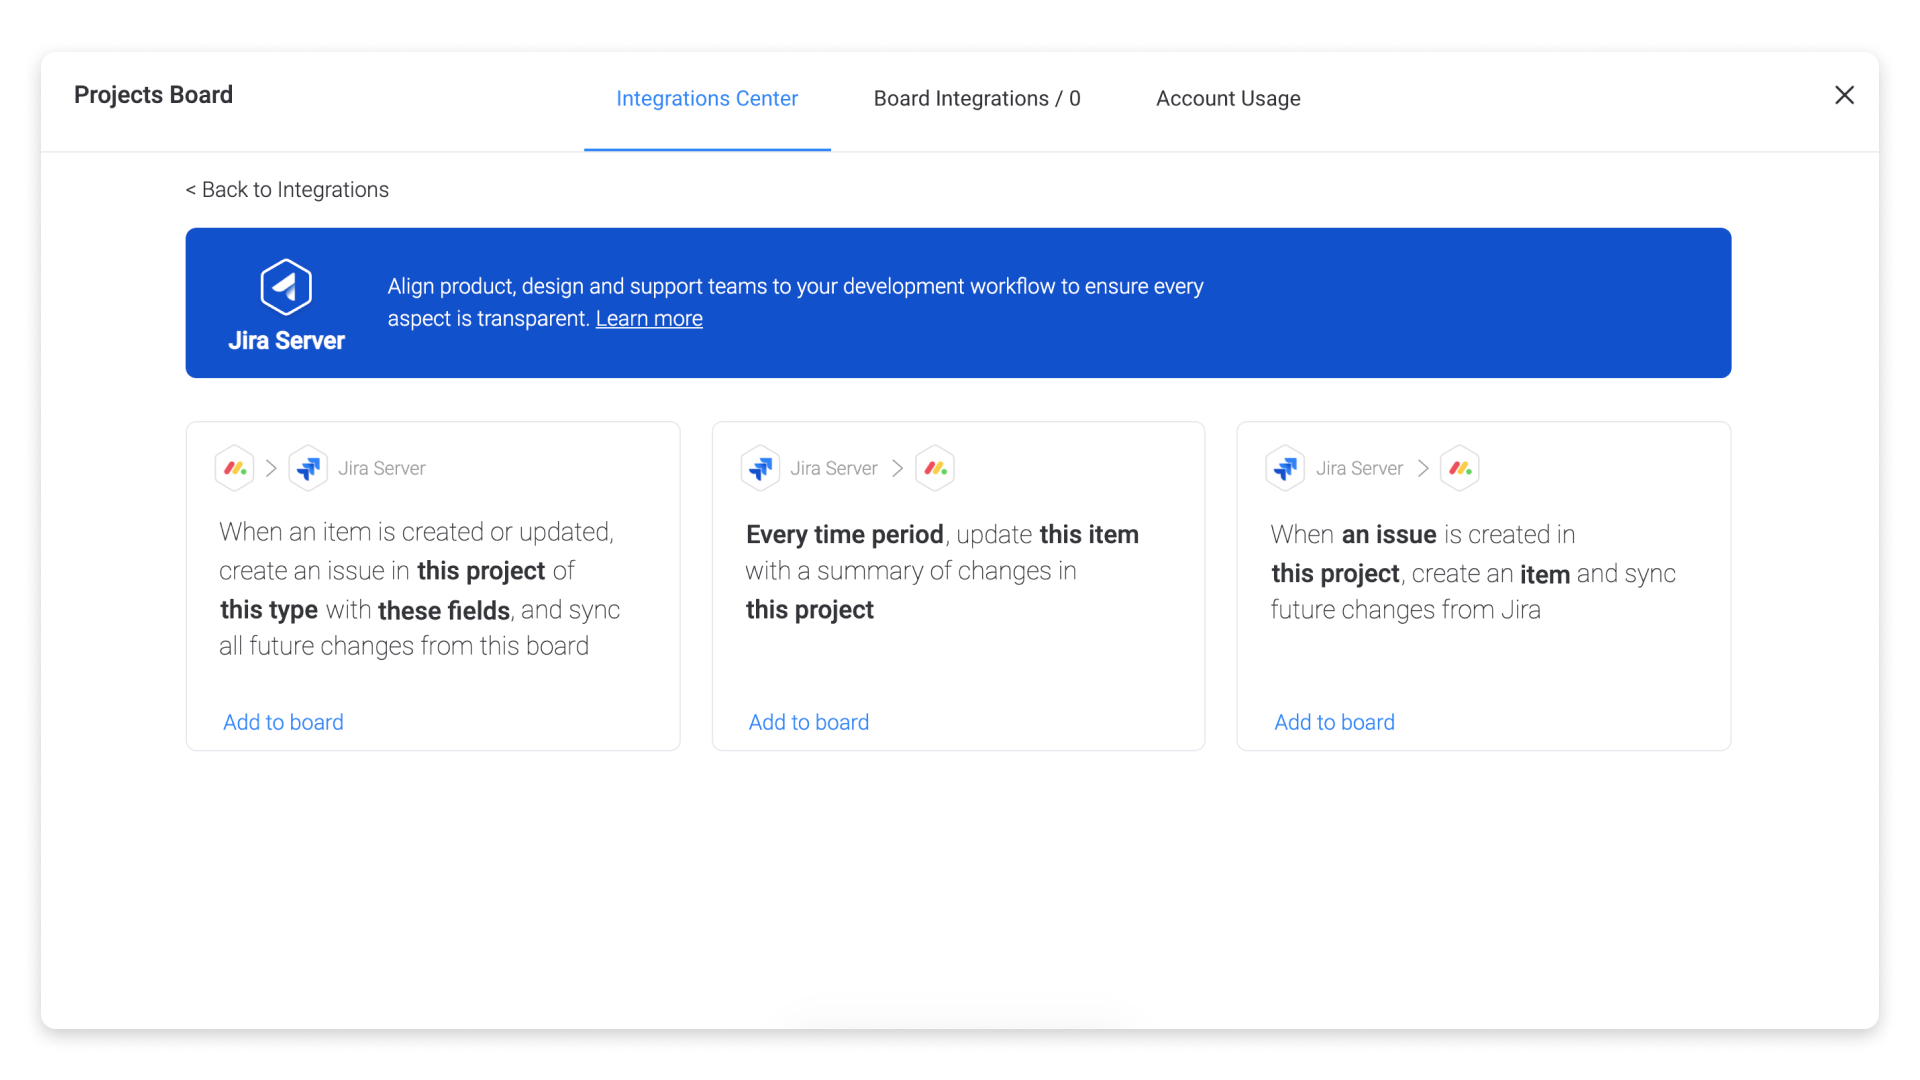
Select the automation you wish to create.
Step 3
Once you click on one of the recipes you will be asked to connect with your Jira Account.
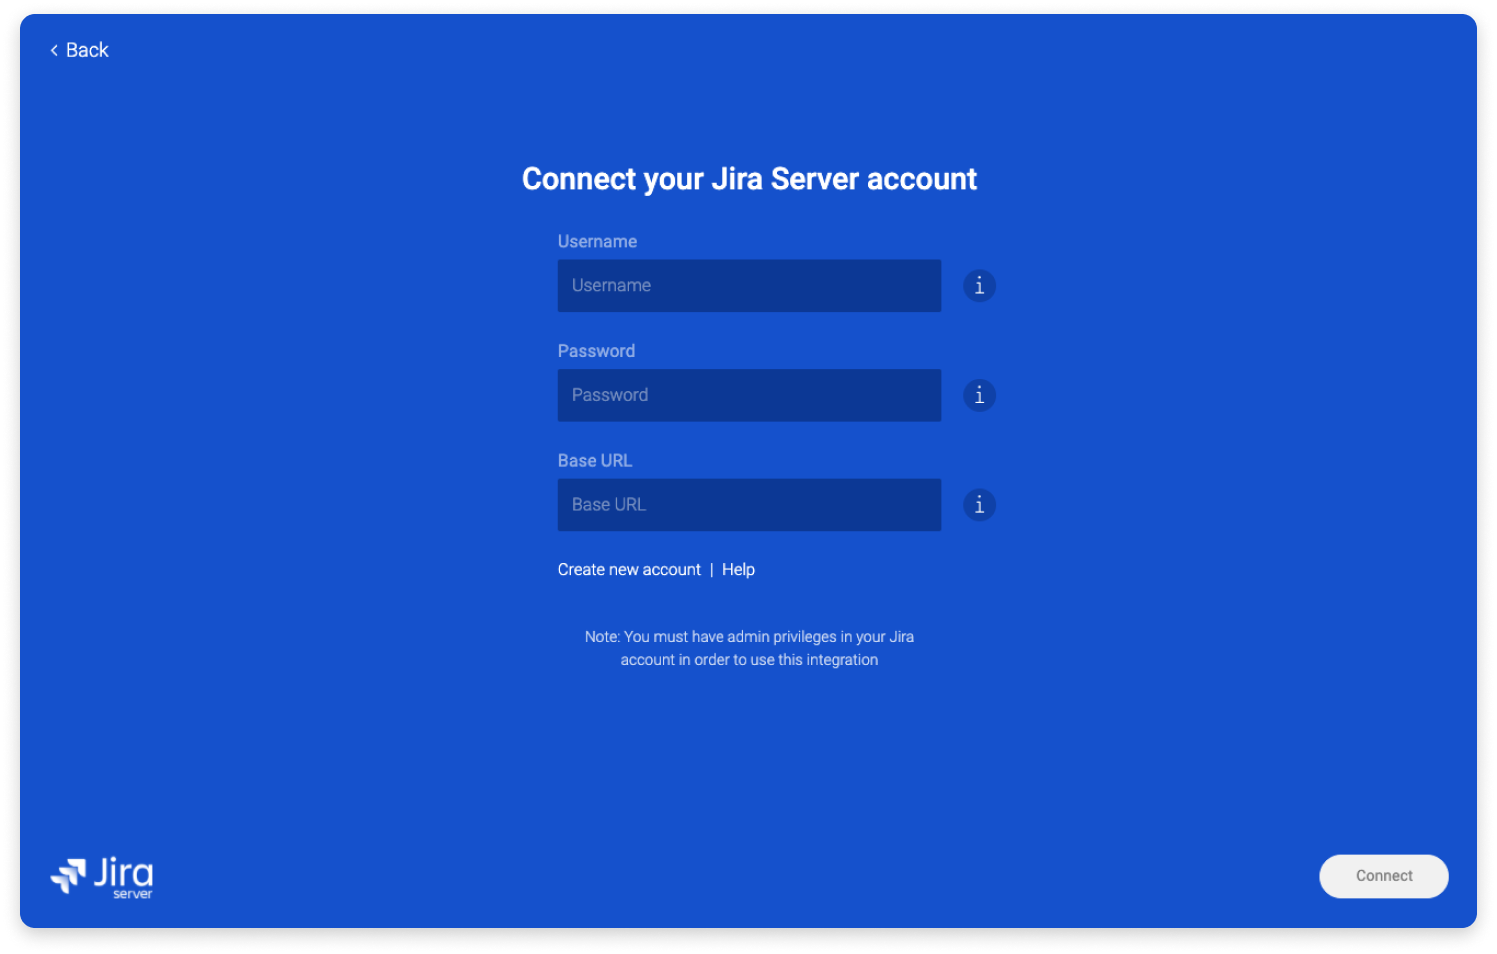
These are the steps to follow to get your credentials.
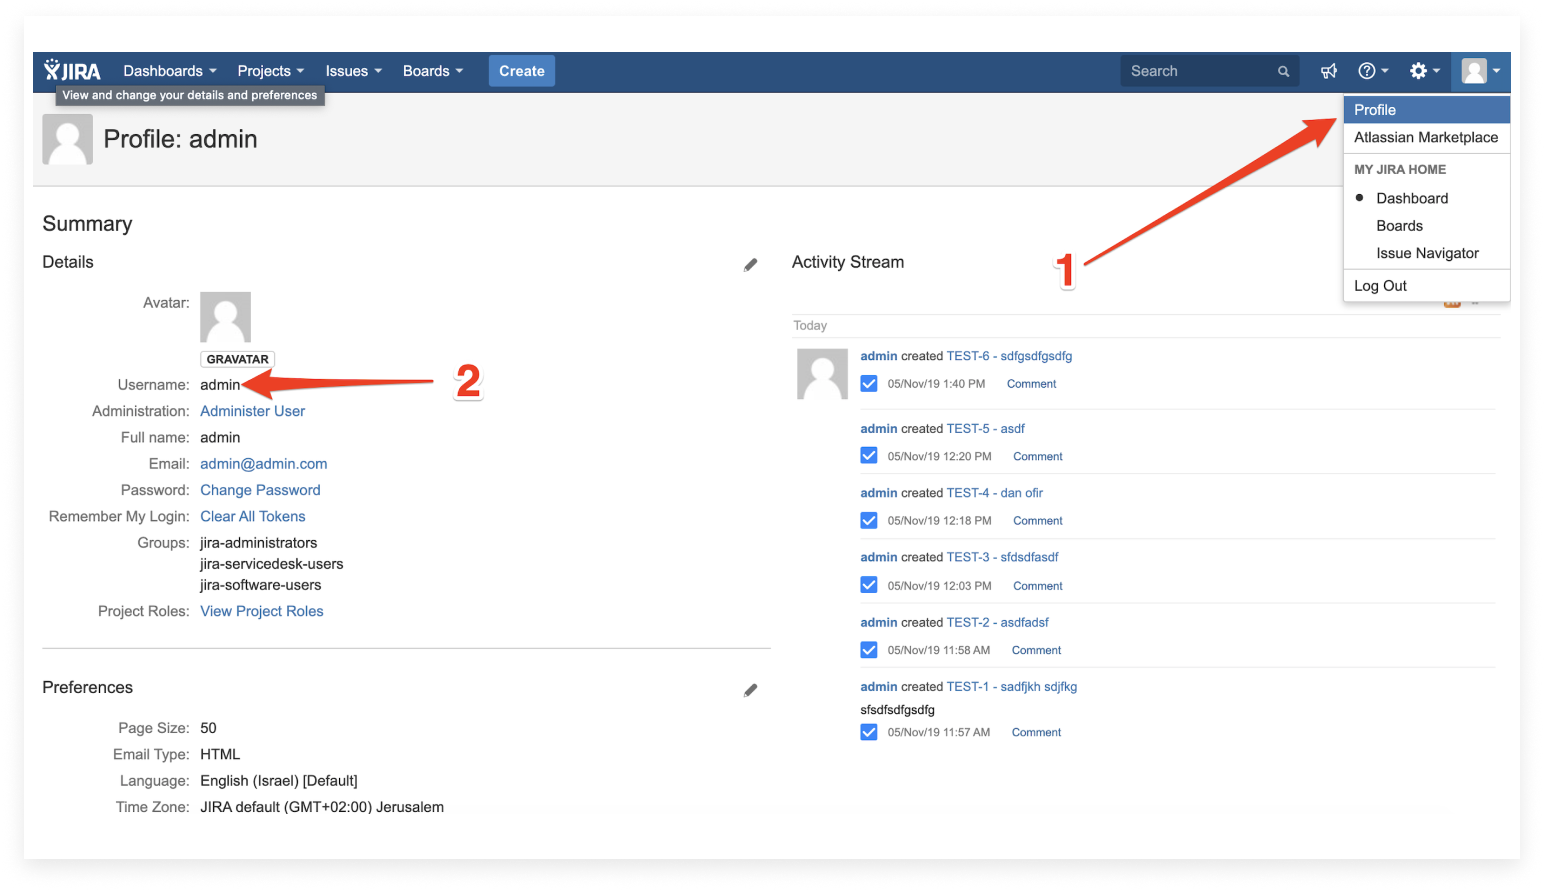
- Username: Navigate to your Jira--> your profile--> and copy your user name.
- Password: Enter the password for your Jira account
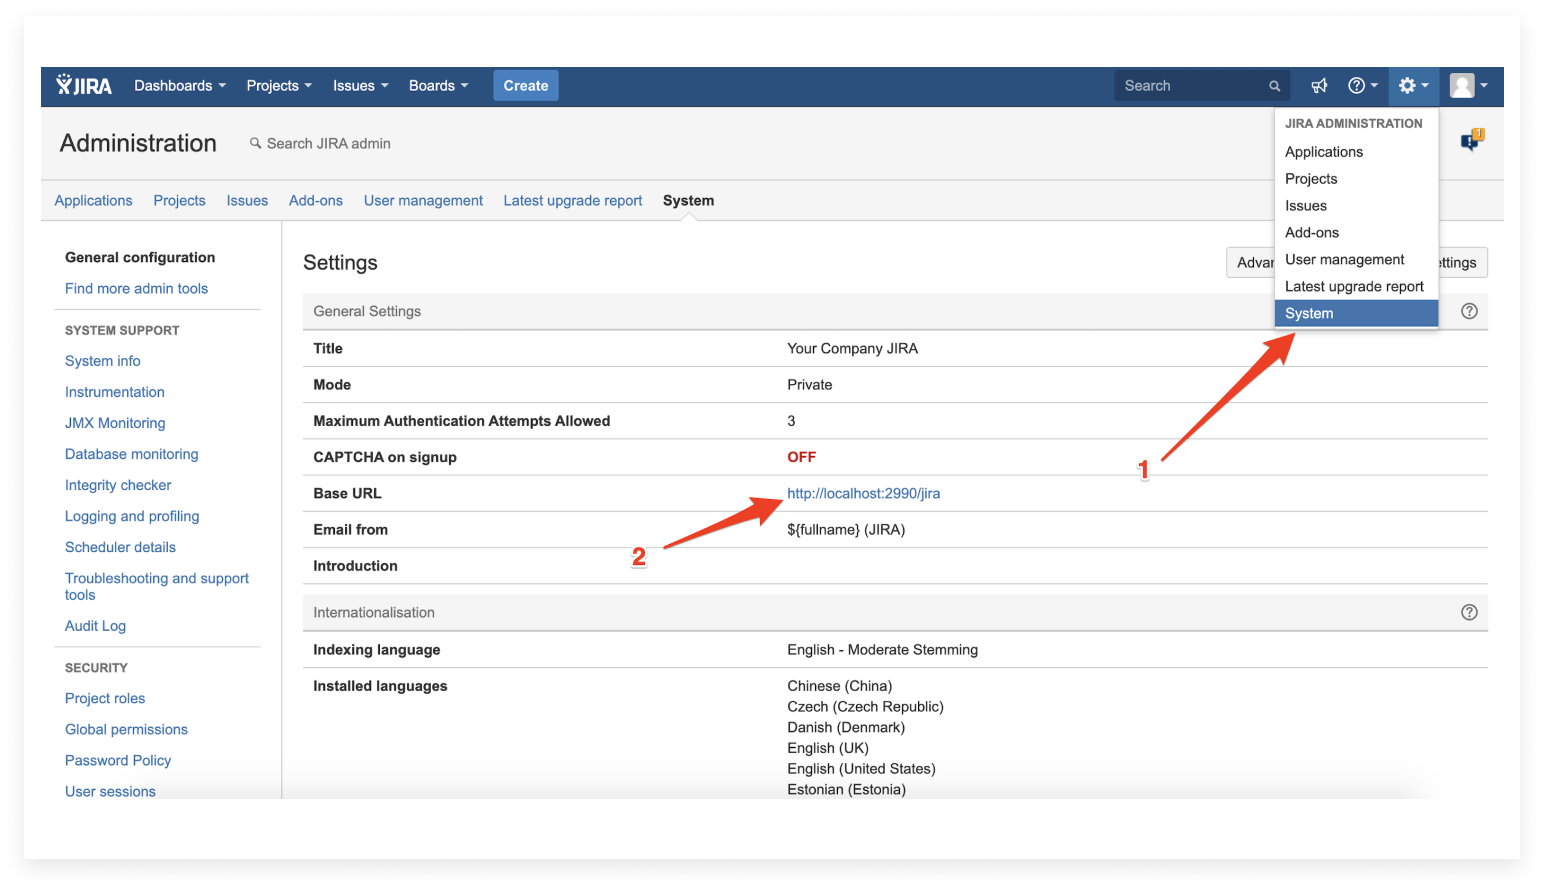
- Base URL: Navigate to your Jira-->Administration--> System--> and copy the address under Base URL.
Congrats! 🎉 You are connected to your Jira account. Let's boost things up!
Step 4
Once the account is connected, you can customize your recipe any way you want with the applicable fields:

You can also set a reminder if you want to update your team members with a summary of an issue in your projects in Jira:
Is my data encrypted?
As long as you're using HTTPS (SSL) with a valid trusted certificate, your data will be encrypted in transit.
Supported fields for mapping
- The following fields are supported for mapping the integration from JIRA to monday.com: issue key, issue type, project, string, priority, user, status, radio button, resolution, number, watches, time, date, progress, story points, and votes.
- If using "epic link (name)", please note that it is supported in all issue types excluding "epic" and "issue (any)". To get the "epic name" on "epic" issue types select "summary".
- All JIRA custom fields can be mapped into a status column in monday.com, as long as the custom field type is one that is supported (see above).
- The following fields are supported for mapping the integration from monday.com to JIRA (the reverse of the above): string, priority, radio button, number, datetime, and date.
Pulling in the assignee
Contact permissions
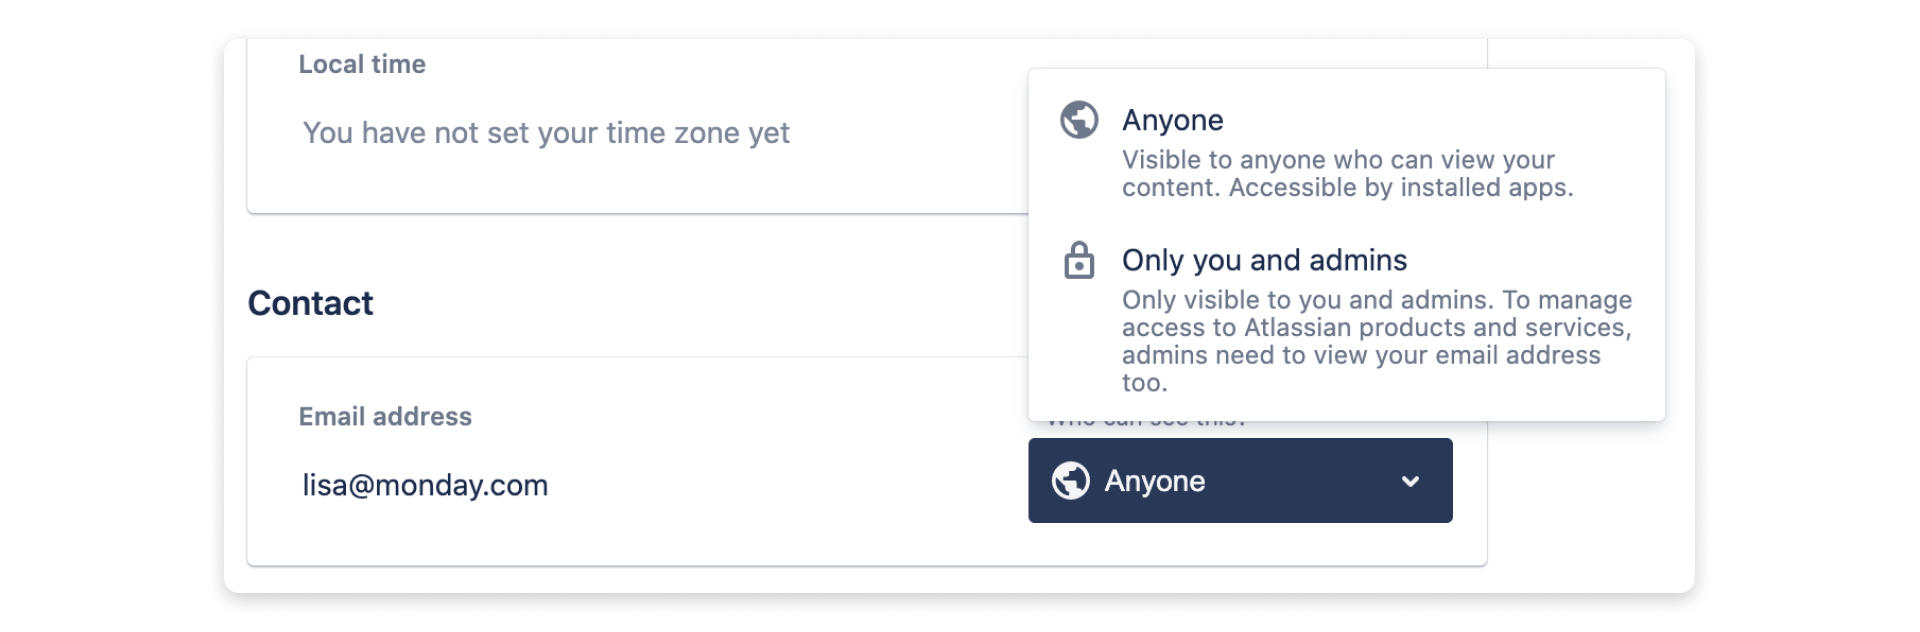
If you want to pull a person into the "Assignee" column on monday.com, you need to change Contact permissions in Jira to "Anyone" for each individual. To change the contact permissions, enter your Jira account, click on your avatar and choose "Account Settings":

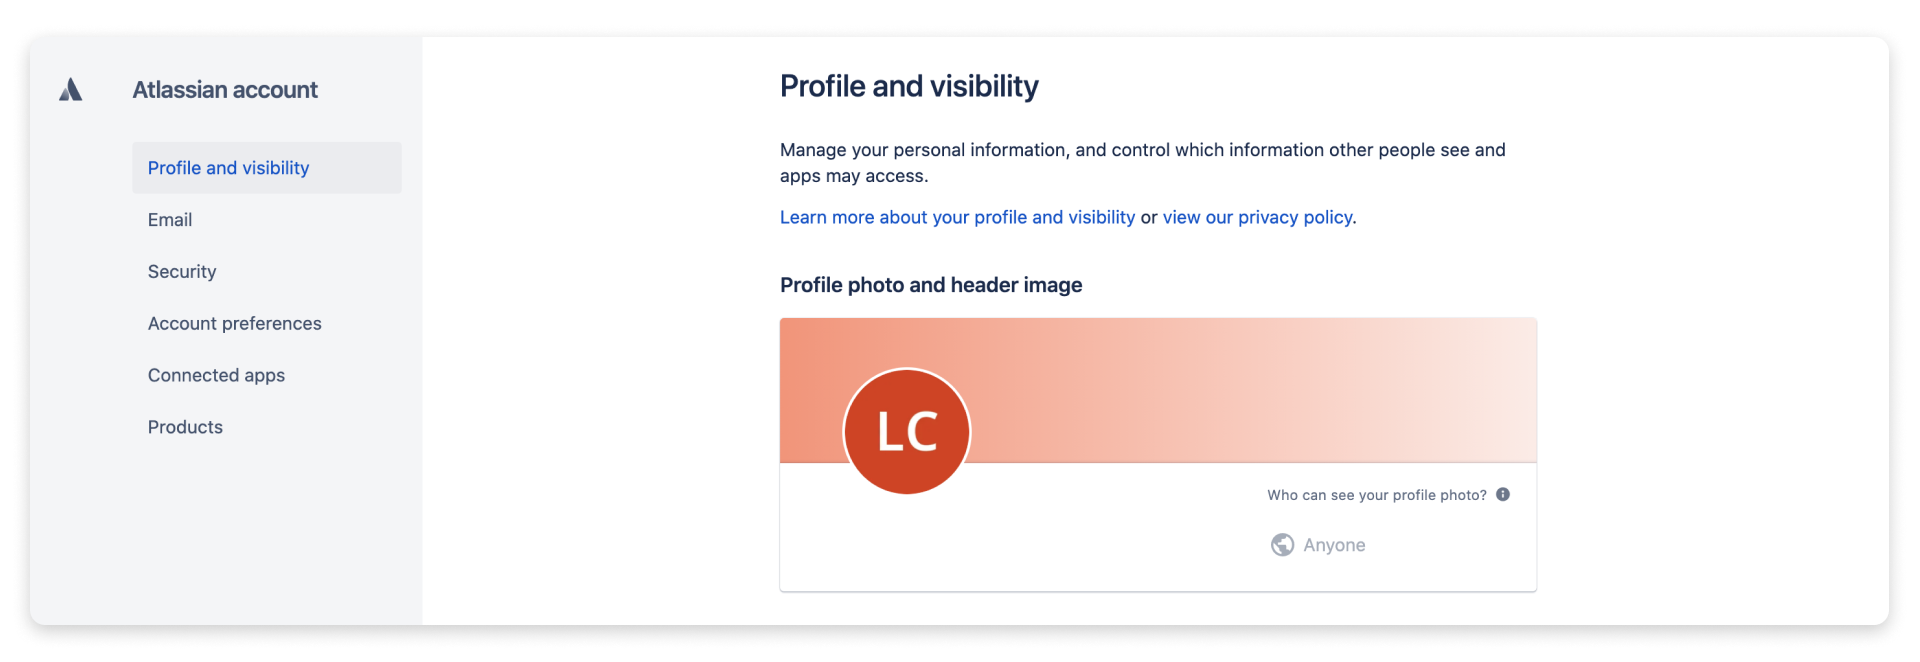
Then, select "Profile and visibility":
Scroll down to "Contact" and next to your email address, choose "Anyone":
Populating the "Assignee" column
To properly populate the "Assignee" column, the email address for the individual on monday.com must be the same as the email address for the individual in Jira.
If the email address is not public in Jira, then the Jira display name will be used instead of the email address to find a match on monday.com for the "Assignee". For this to work, the display name on monday.com needs to be the same as the display name in Jira.
If there are two users with the same display name on monday.com and in Jira, the "Assignee" column will populate with both people.
Creating a two-way sync
A two-way sync occurs when data is being both pushed from monday.com into Jira and pulled from Jira into monday.com. This makes it so that your data matches in both platforms and remains up-to-date.
To create a two-way sync, you'll need to set up two recipes. The first is "When an issue is created in this project, create an item and sync future changes from Jira":
The second is the following recipe: "When an item is created or updated, create an issue in this project of this type with these fields, and sync all future changes from this board":
To set up the second recipe, choose the correct project. In this case, we're going to use "KB Iteration Planning". For the type, we're also going to choose "Task".
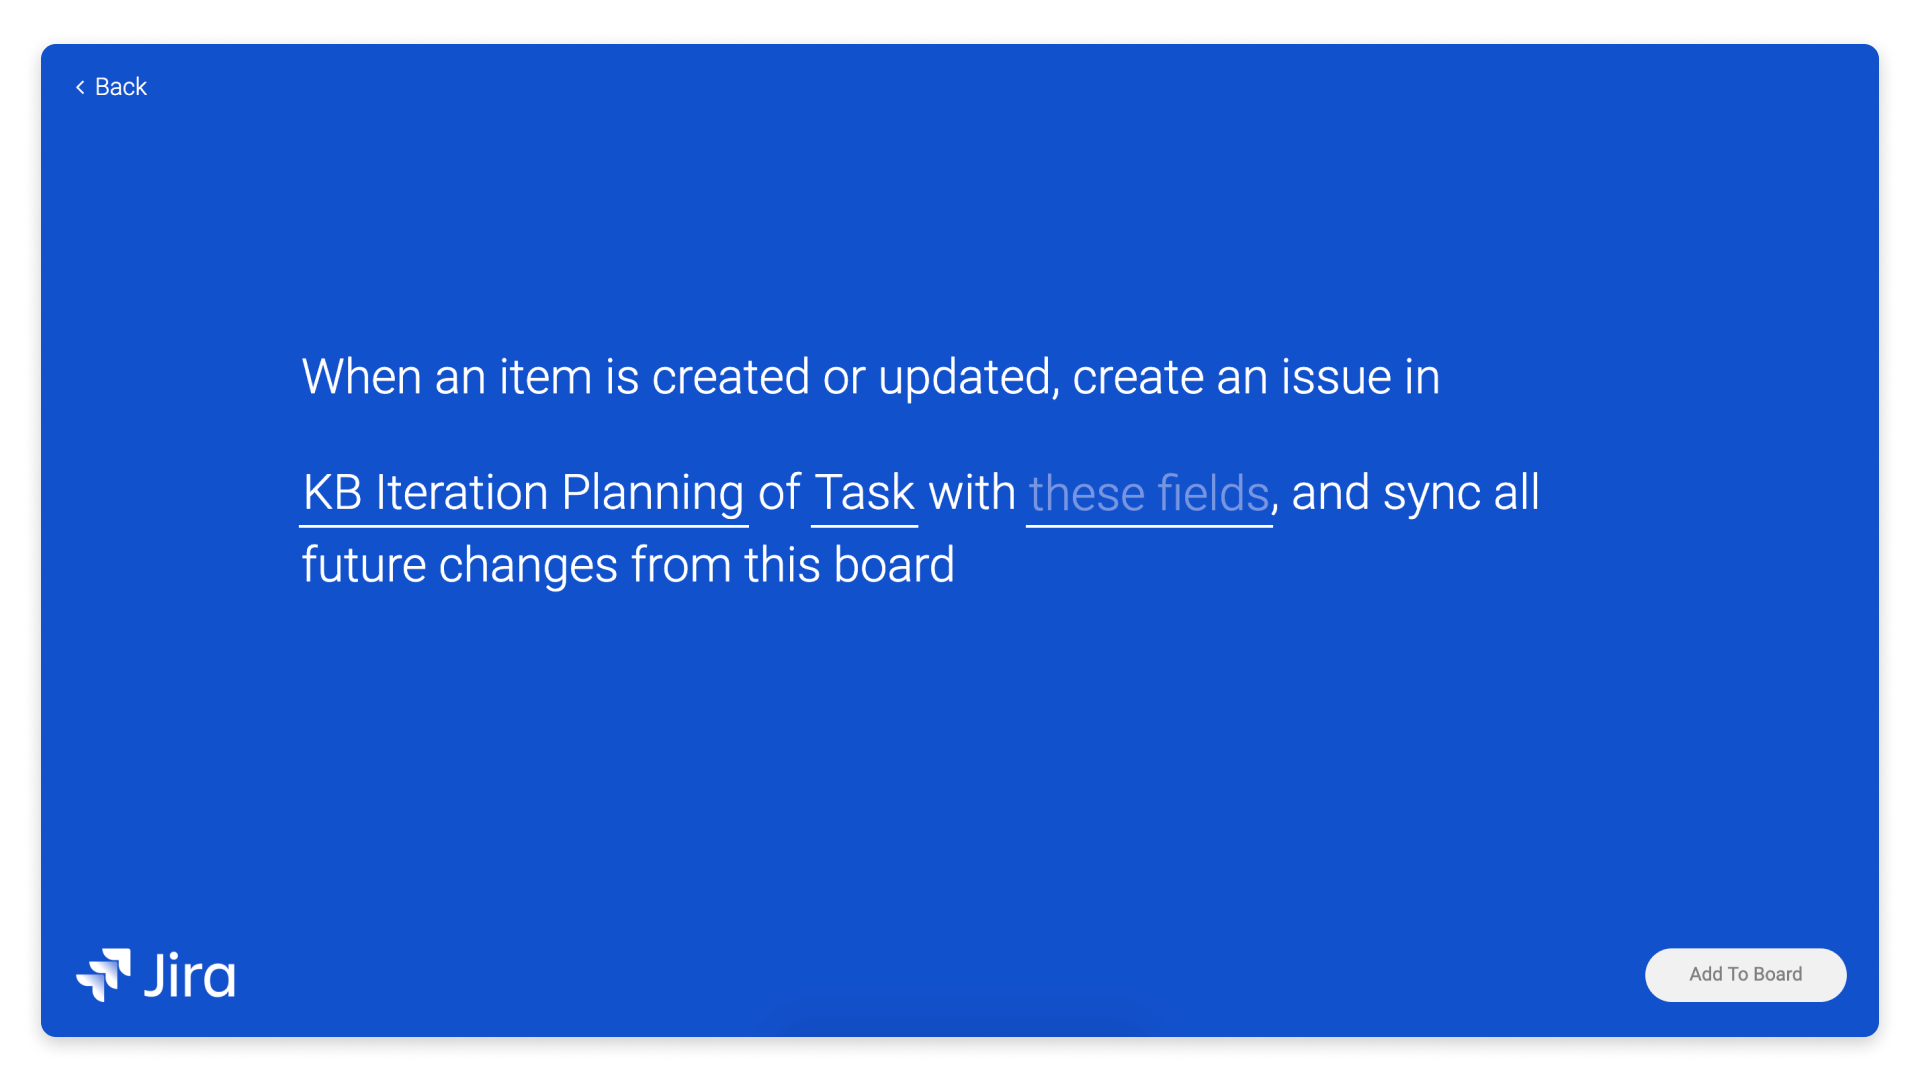
After choosing your project and type, select "these fields" to begin mapping.
With this recipe, when we’re mapping, the fields to the left are Jira data fields rather than the names of your monday.com columns. Here you’re mapping monday.com columns into Jira.
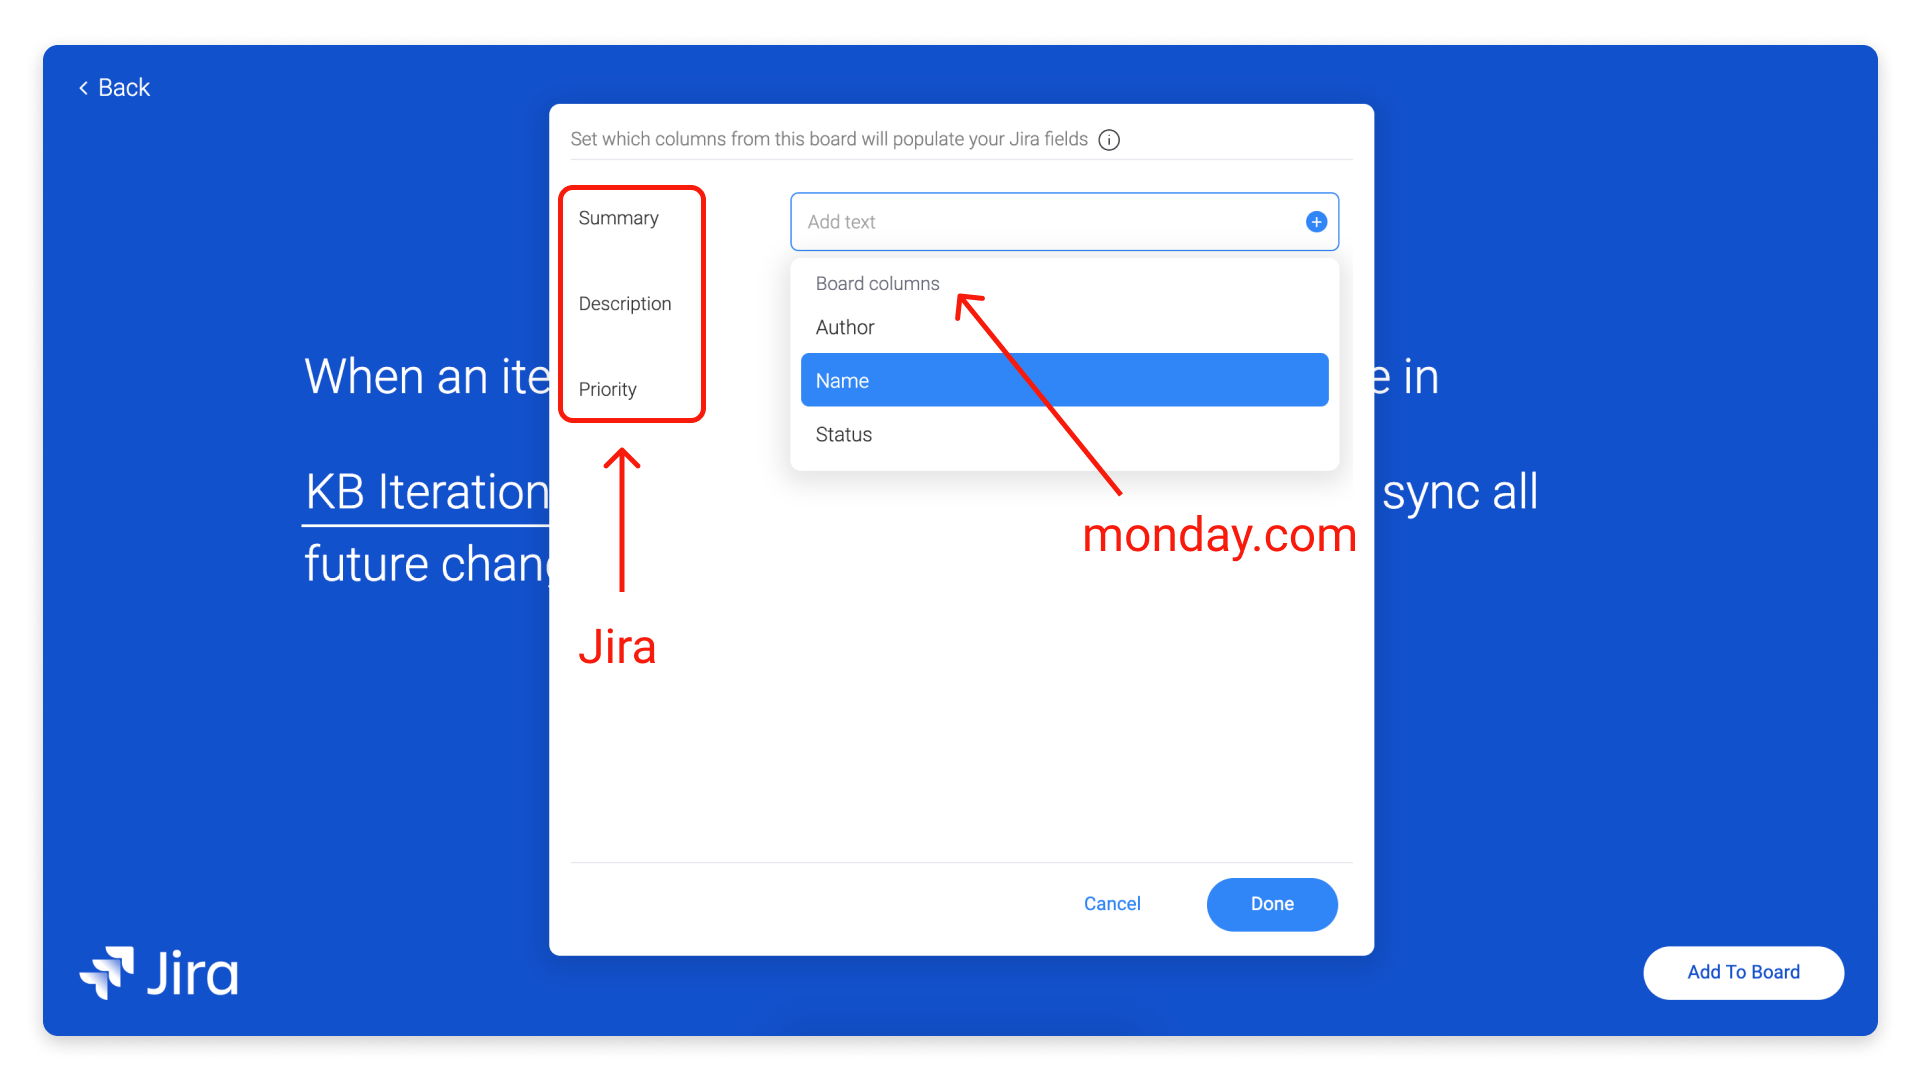
Once you finish mapping and click the "Add To Board" button, your two-way sync is ready to go!
How to delete the integration
You can turn off and/or delete your integration in the integration menu:

You can also edit the integration and the Jira account you want to connect to in case you change your mind later!
Error during setup
If you receive an error message during the setup of this integration, there are a few things to check.

1) Check that the base URL you're entering during setup has a protocol, either HTTPS or HTTP.
2) Check that your SSL certificate is not invalid or self-signed. Atlassian recommends that you only use self-signed certificates for development and testing purposes. Your certificate must be a certified certificate. If you need a certified certificate, you can use CAcert, a certificate authority that grants certificates for free. Other options are VeriSign, Thawte, etc.
More assistance
If you need help building custom integrations, we also have an option for paid assistance through our network of certified monday.com partners. If you're interested, please fill out this form and someone will be in touch shortly!
If you have any questions, please reach out to our team right here. We’re available 24/7 and happy to help.
Comments